Translate

Wednesday, January 1, 2014

Another graduation dinner

December 21, 2013:  Another one of Steve's graduate students was awarded her doctorate today.  We invited Allison and her family for dinner afterwards.  Restaurants are crowded and not very personal, so we've started this new tradition.  So, here's the menu:

     Beef Wellington with green peppercorn sauce
     Herb roasted fingerling potatoes
     Warm wilted winter greens
     Fallen Chocolate Souffle Cake with peppermint ice cream
     and, of course, champagne

I did a trial run with individual beef Wellingtons and found that there was too much pastry, and the recipe I used didn't have enough flavor.  So, I moved on to Tyler Florence's recipe on the Food Network website.  Here's what's good about this menu:  the cake can be made early in the day, since it's served at room temperature, and much of the preparation of the Beef Wellington can be done in stages and refrigerated, which is actually of benefit to the final outcome.  Right now it's two hours until dinner is served, and I'm sitting here writing this.  So, very relaxed.

When I throw a dinner party, I assume I'll spend the day cooking and preparing, and today was no exception.  The first thing I did was to bake the cake, which I haven't made in many years (maybe 10), which led to the first challenge of the day.  Now I have an oven that actually holds its temperature, and I mistakenly set the timer for the minimum time in the recipe.  By then it was dry and burned, so into the trash it went.  Luckily I had all of the ingredients to make it again, so right after lunch I made it again.  This time I made sure that it wouldn't dry out:  I lowered the temperature slightly, cooked it 5 minutes less, and put the springform pan on a baking sheet, double insulating the bottom.  Results, as you will see, are perfect.

FALLEN CHOCOLATE SOUFFLE CAKE


12 oz fine quality bittersweet chocolate (not unsweetened), chopped
1 1/2 sticks (6 oz) unsalted butter, cut into Tablespoon pieces
1 1/2 teaspoons vanilla
1/4 teaspoon salt
3/4 cup (6 oz) superfine sugar
5 large eggs, separated, at room temperature
1/4 cup AP flour


Because you are going to be making a meringue, it is important that not a speck of yolk get into the whites when you separate the eggs.  I will do the separating over a small bowl before adding the whites to the mixing bowl, like this:


That way, if one of the yolks breaks, I can discard it, and get a new small bowl before continuing (which happened once on this particular day).

Put oven rack in middle position and preheat oven to 345 degrees F.  Butter a 9-inch springform pan and line bottom with a round of parchment, then butter paper.


Melt chocolate and butter in a large metal bowl set over a pan of barely simmering water (or in a microwave-safe large glass or ceramic bowl in a microwave at 50 percent power for 4 to 5 minutes), stirring frequently, then cool completely.


Whisk in vanilla, salt and 6 Tablespoons sugar.  Add yolks 1 at a time, whisking well after each addition.


Whisk in flour.
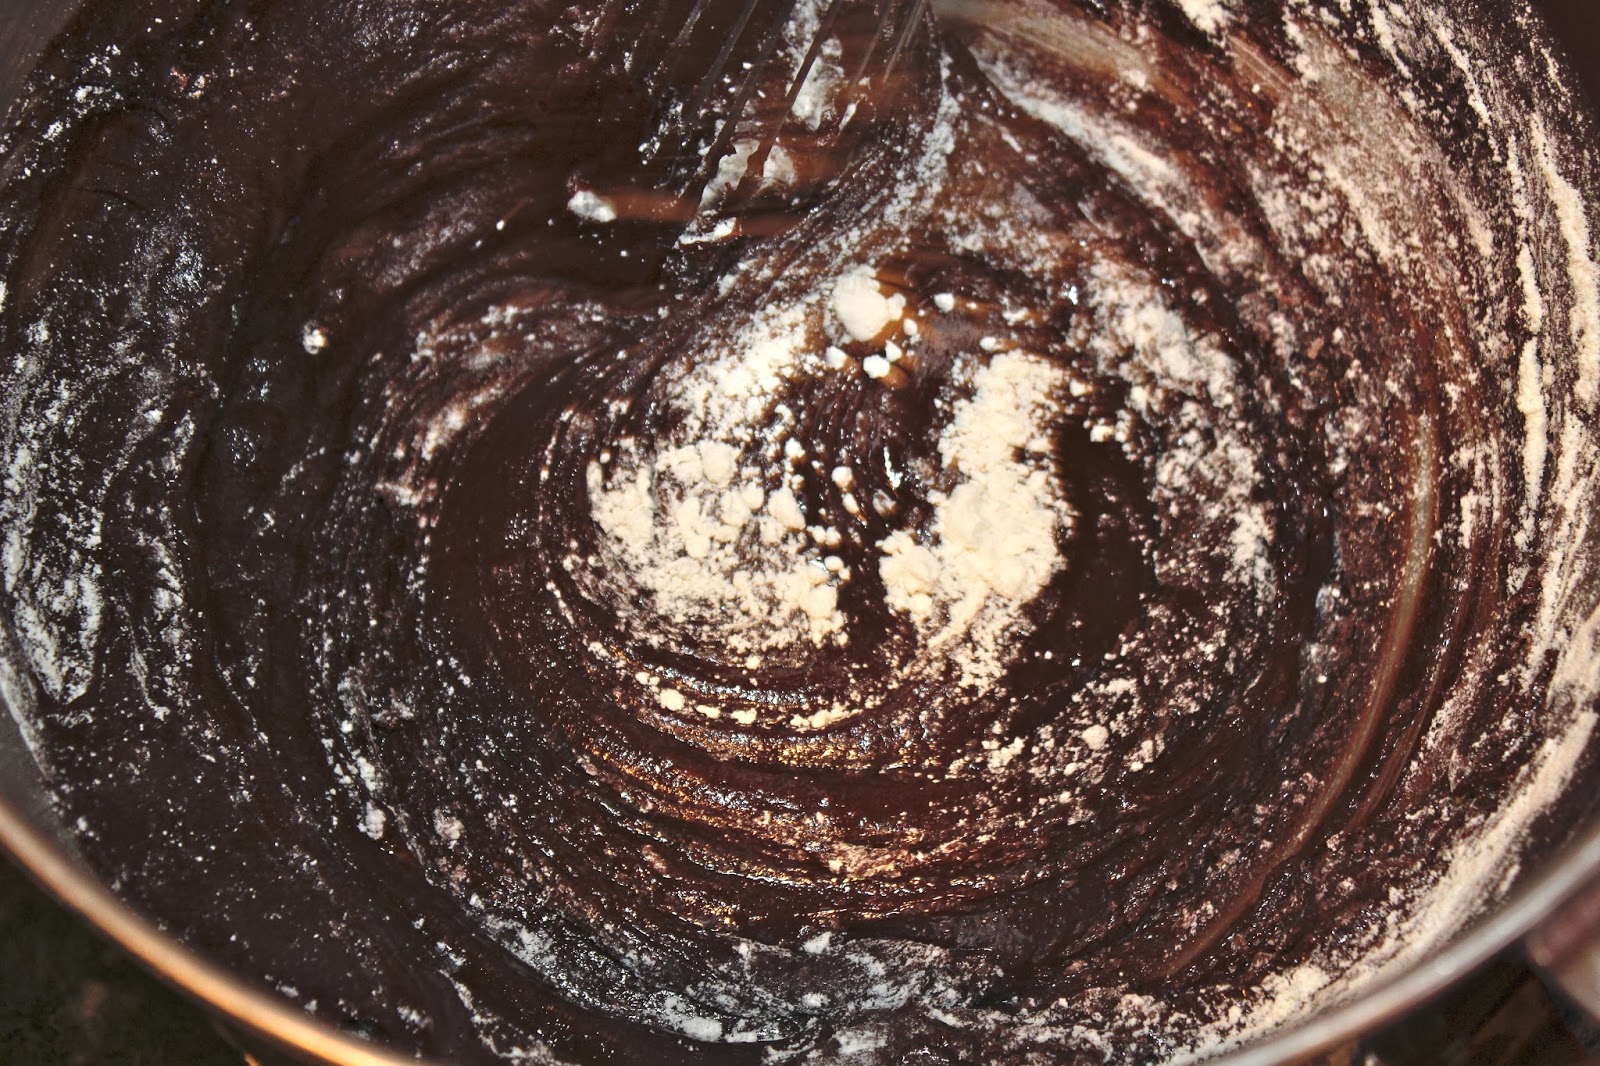


Beat whites and a pinch of salt with the whisk attachment of an electric mixer at medium-high speed until they hold soft peaks,


then add remaining 6 Tablespoons sugar a little at a time, beating, and continue to beat until whites hold stiff glossy peaks.


Whisk about one fourth of whites into chocolate mixture to lighten,


then fold in remaining whites gently but thoroughly.


Pour batter into springform pan, spreading evenly.


Bake until a wooden pick or skewer inserted in center comes out with moist crumbs adhering, 30 to 32 minutes.

Cool cake in pan on a rack.  Remove the side of pan and cool cake completely.  At this point, the recipe says to invert the cake onto a rack and remove the bottom paper and then invert it onto the plate.  Because I prefer it on the moist side, this usually results in an explosion of cake on a plate.  Tastes good, but not too pretty to look at, so I just slid the cake onto the cake plate.  This necessitates taking care to not include the parchment paper when you serve the cake.


This cake pairs well with sweetened whipped cream, but is especially good with ice cream.  Since it was close to the holidays, I used Edy's Peppermint stick ice cream.


BEEF WELLINGTON

For the Duxelles:

1 1/2 pounds baby bella mushrooms
2 shallots, peeled and roughly chopped
4 cloves garlic, peeled and roughly chopped
2 sprigs fresh thyme, leaves only
2 Tablespoons unsalted butter
2 Tablespoons extra-virgin olive oil
Kosher salt and freshly ground black pepper

For the Beef:

1 (3-pound) center cut beef tenderloin (filet mignon), trimmed and tied
Extra virgin olive oil
Kosher salt and freshly ground black pepper
12 thin slices prosciutto
6 sprigs fresh thyme, leaves only
2 Tablespoons Dijon mustard
Flour, for rolling out puff pastry
1 pound puff pastry, thawed if using frozen
2 large eggs, lightly beaten
1/2 teaspoon coarse sea salt (like Maldon)
Minced chives for garnish

To make the Duxelles:

Add mushrooms, shallots, garlic and thyme to the food processor and pulse until finely chopped.


This was a large load for the food processor, and I would suggest doing it in two batches.


Add butter and olive oil to a large sauté pan and set over medium heat.  Add the shallot and mushroom mixture and sauté for 20 or even 30 minutes until most of the liquid has evaporated.


The bain of Beef Wellington is the moisture from the mushrooms making the pastry soggy, so get it really dry.  Season with salt and pepper and set aside to cool.

To prepare the beef:

Be sure the tenderloin is tied in 4 places so it holds its cylindrical shape while cooking.  Drizzle with olive oil, then season with salt and pepper


then sear all over, including the ends, in a hot, heavy-based skillet lightly coated with olive oil, about 2 to 3 minutes a side.


Meanwhile, set out your prosciutto on a sheet of plastic wrap (plastic needs to be about a foot and a half in length so you can wrap and tie the roast up in it) on top of your cutting board.  Shingle the prosciutto so it forms a rectangle that is big enough to encompass the entire filet of beef.


Using a rubber spatula cover the prosciutto evenly with a thin layer of duxelles.


Season the surface of the duxelles with salt and pepper and sprinkle with fresh thyme leaves.

When the beef is seared, remove from heat, cut off twine


and smear lightly all over with Dijon mustard.  Keep the pan with the drippings in it for the Green Peppercorn sauce.


Allow to cool slightly, then roll up in the duxelles covered prosciutto using the plastic wrap to tie it up nice and tight.


Tuck in the ends of the prosciutto as you roll to completely encompass the beef.


This will create some insulation from the moisture in the mushroom mixture.  Roll it up tightly in plastic wrap and twist the ends to seal it completely and hold it in a nice log shape.


Set in the refrigerator for 30 minutes or more (I'm in favor of more so that it is completely chilled through) to ensure it maintains its shape and that the heat from the searing does not damage the pastry.

Preheat oven to 425 degrees F about 30 minutes before you plan to bake it.

On a lightly floured surface, roll the puff pastry out to about a 1/4-inch thickness. Depending on the size of your sheets, you may have to overlap two sheets and press them together.  Remove beef from the refrigerator and cut off plastic.  Set the beef in the center of the pastry and fold over the longer sides, brushing with egg wash to seal.


Trim ends if necessary, then brush with egg wash and fold over to completely seal the beef--saving ends to use as a decoration on top, if desired.  Top with coarse sea salt.  Place the beef seam side down on a baking sheet.

You can cover with plastic wrap and refrigerate again at this point.  What's nice about this recipe is that you can do so much preparation well in advance of your guests arriving, allowing you to clean up your kitchen and look oh so relaxed when they get there.

When you are ready to bake it, brush the top of the pastry with egg wash and make a couple of slits in the top of the pastry using the tip of a paring knife--this creates vents that will allow the steam to escape when cooking.  Bake for 40 to 45 minutes until pastry is golden brown and beef registers 125 degrees F on an instant read thermometer for rare (which is traditional with Beef Wellington).  If your guests desire medium rate, go to 145 degrees F, which will take another 10 to 15 minutes.


You can see that mine had some seepage.  I think it would help to brush egg wash on the underside of the pastry to seal it.

Remove from oven and rest before cutting into thick slices.


Garnish with minced chives and serve with Green Peppercorn sauce.

Green Peppercorn sauce

2 Tablespoons olive oil
2 shallots, sliced
2 cloves garlic, peeled and smashed
3 sprigs fresh thyme, leaves only
1 cup brandy
1 box (4 cups) beef stock
2 cups cream
2 Tablespoons grainy mustard
1/2 cup green peppercorns in brine, drained

About 10 minutes before you are going to serve the beef (maybe while the beef is resting), add olive oil to pan used to sear beef.  Add shallots, garlic, and thyme; sauté for 1 to 2 minutes, then, off heat, add brandy and flambé using a long kitchen match.  We didn't have one, so we took a regular match and used kitchen tongs to extend the length.


Pretty impressive, huh?  Even with the hood fan on full blast, it did manage to set off the smoke detector.

After the flame dies down, return to the heat, and add stock and reduce by about half.


Strain out solids, then add 2 cups cream and mustard.  Reduce by half again, then shut off heat and add green peppercorns.


Roasted Fingerling Potatoes with Fresh Herbs and Garlic

2 pounds fingerling potatoes
2 sprigs fresh rosemary
2 to 3 sprigs fresh sage
3 sprigs fresh thyme
6 cloves garlic, left unpeeled
3 Tablespoons extra-virgin olive oil, plus for sheet pan
salt and pepper

Preheat oven to 500 degrees F and place a baking sheet inside to heat.

If you only have one oven, what I would do is raise the temperature to 500 as soon as you take the beef out to rest.

In a medium bowl, add potatoes, rosemary, sage, thyme, and garlic.


Drizzle with olive oil, and season with salt and pepper.  Remove sheet pan from oven, lightly coat with olive oil, and pour potatoes onto pan.  Place potatoes in oven and reduce heat to 425 degrees F.  Roast for 20 minutes, or until crispy on outside and tender on inside.

Warm Wilted Winter Greens

1/4 cup honey
1/2 cup balsamic vinegar
1/2 pint walnuts, for garnish
3 bunches winter greens (Swiss chard, radiccio, kale, or escarole), washed, stemmed, and torn into pieces
1 Tablespoon grainy mustard
Extra-virgin olive oil
1/2 cup pomegranate seeds, for garnish
Parmesan shavings, for garnish

Earlier in the day you can toast the walnuts.  I usually put them in a 375 degree oven for about 9 or 10 minutes on a baking pan.  Let them cool completely.

The pomegranate seeds can be done early in the day also.  I love the color, taste, and crunch, so don't omit this part.  Here's a beautiful, heavy pomegranate (heavy = juicy):


First you cut off the blossom end:


Then you score the outside along the line of the pith sections:


Using a bowl of cold water, begin picking the seeds out of the fruit.


The extras will keep in the refrigerator in an air-tight container and are wonderful on salads.


Steve liked this picture because it looks like the scene of a crime:


About 15 minutes before you are going to serve dinner, cook honey and balsamic together over medium-high heat in a large sauté pan, about 5 minutes.

Pile greens on a platter or mixing bowl.


Stir mustard into balsamic-honey dressing, then whisk in about 1 cup extra-virgin olive oil; pour over greens.  Season greens with salt and pepper and garnish with walnuts, pomegranate seeds, and shavings of Parmesan.

Sunday, October 6, 2013

Banana Nut Bread


We had some unchosen bananas this week...the ones that start to spot early and nobody wants to eat them, so they just keep getting darker.  They looked like this by today:


So I decided a banana nut bread would be a good way to use them up.  There used to be a roadside restaurant and fruit stand near Vacaville, CA, called the Nut Tree.  They started out selling fruit, then nut breads, then they opened a restaurant, added some rides, and for several decades it was a great stopping off point between San Francisco and Lake Tahoe.  Our favorite nut breads were the apricot walnut and, of course, banana nut.  The Nut Tree is gone now, a victim of the times, I suppose, and the main thing I remember about the nut breads is how moist they were.  So I went searching for a recipe, and came upon this one in Nancy Silverton's Pastries from the La Brea Bakery.  She always seems to call for extra-large eggs, so I've started adding an extra large one to compensate (which I included in this recipe).

BANANA-NUT BREAD

2/3 cup (2 1/2 ounces) walnuts
2/3 cup (2 1/2 ounces) pecans
3 to 4 bananas, very ripe, mashed to equal 1 1/4 cups, plus 1 whole banana for garnish not so ripe
3 large eggs
1 1/2 teaspoons pure vanilla extract
1 stick (4 ounces) unsalted butter, slightly softened
1 1/4 teaspoons baking soda
2 1/2 teaspoons baking powder
3/4 teaspoon kosher salt
1 teaspoon ground cinnamon (I used Vietnamese)
3/4 teaspoon ground nutmeg
Scan 1/4 teaspoon ground cloves
1 Tablespoon poppy seeds
1/2 cup granulated sugar, plus 1 teaspoon extra for sprinkling
1/4 cup plus 2 Tablespoons light brown sugar, lightly packed
1 1/2 cups unbleached AP flour

Lightly butter a 6-cup-capacity loaf pan.


I have tried different brushes, but I find that it is worth it to spend a little more for pastry brushes.  I buy a dozen at a time, and then I mark them with a Sharpie:  butter, oil, and egg, because I suspect that there could be a little residue.  Once they get funky looking, I throw them away.

Adjust the oven rack to the middle position and preheat the oven to 350 degrees.  Spread the nuts on a baking sheet and toast them in the oven until lightly browned, about 10 minutes.  Shake the pan halfway through to ensure that the nuts toast evenly (remember, you'll know they're done when you can smell them).  Cool, chop coarsely, and set aside.

In a medium bowl, mash the riper bananas,


then whisk in eggs and vanilla extract to combine.


In the bowl of an electric mixer fitted with the paddle attachment, cream the butter, baking soda, baking powder, salt, cinnamon, nutmeg, cloves and poppy seeds on low, 2 to 3 minutes, until softened.


Add the sugars and turn the mixer up to medium, mixing another 3 to 4 minutes until fluffy, scraping down the sides of the bowl, if needed.

Add the flour and the banana mixture alternately in 3 batches, beginning with the flour and mixing until just combined.


Remove the bowl from the mixer and fold in the nuts.


Pour the batter into the prepared loaf pan to just below the rim.


Cut two 1/4-inch-thick strips from the remaining banana, slicing down the entire length.


Arrange the two C shapes on top of the loaf, staggered, with the two ends slightly interlocking with each other in the center (I didn't exactly follow this instruction...oops).


Sprinkle about one teaspoon granulated sugar over the surface.

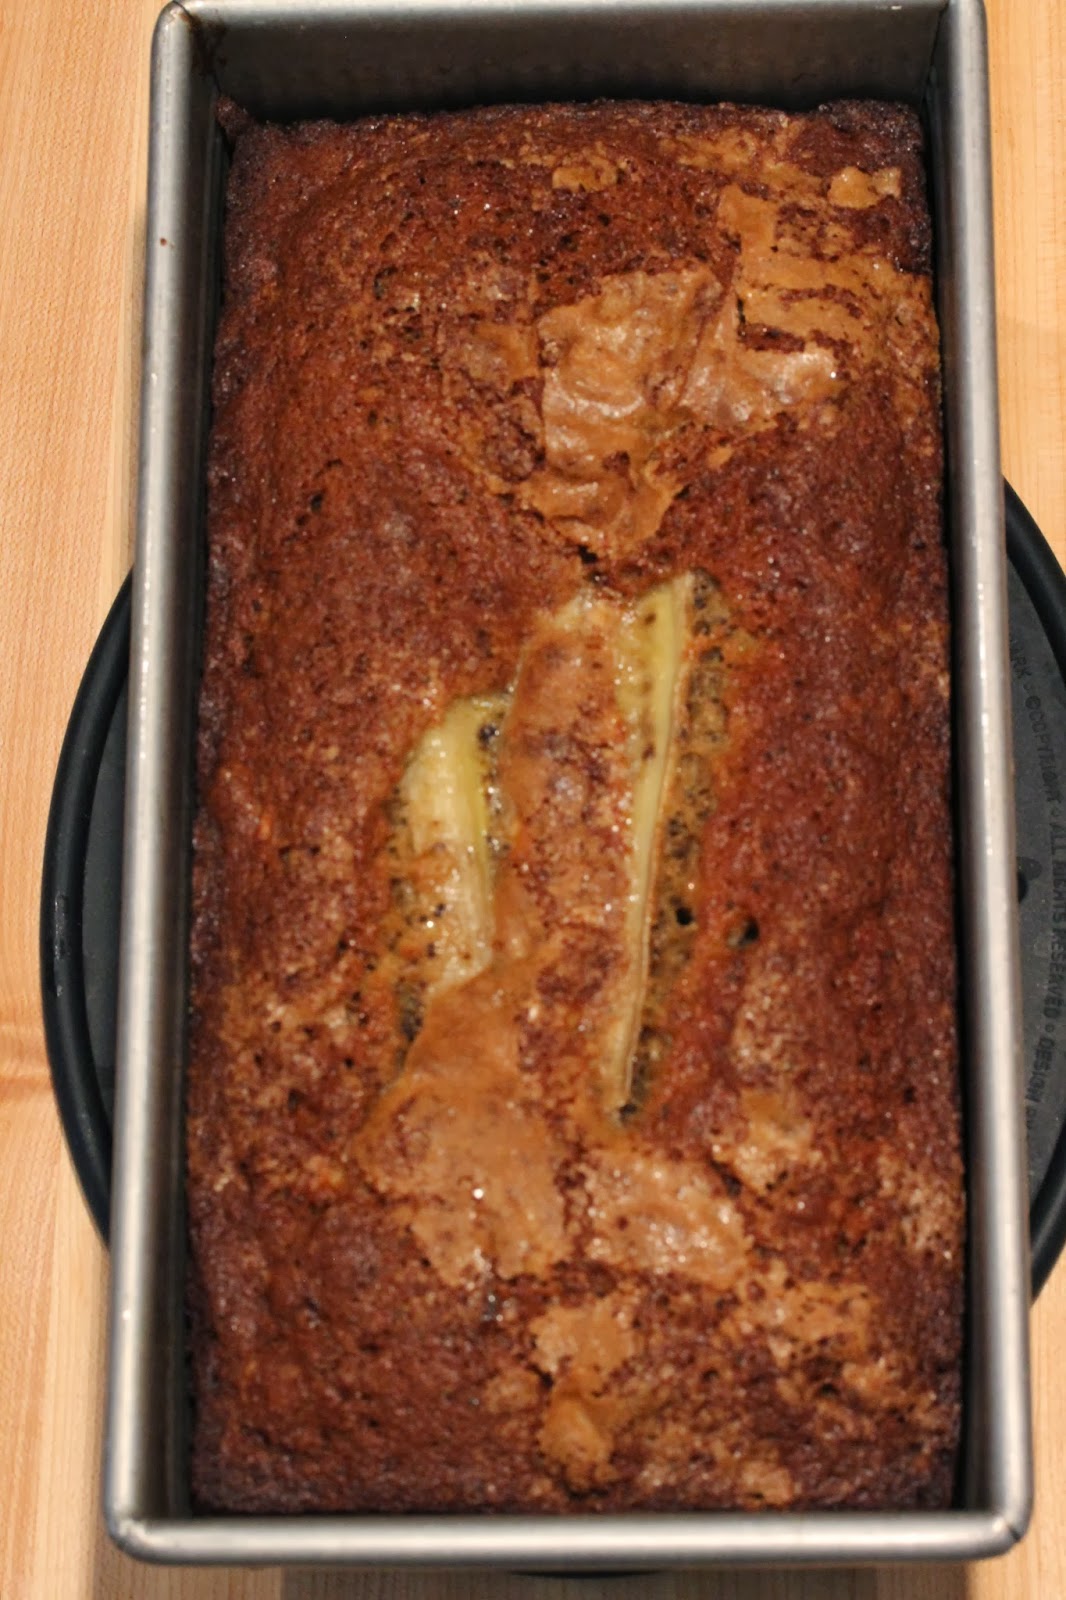
Bake for 45 to 50 minutes, until nicely browned and firm to the touch.


Yield:  1 loaf

We all thought that this was a tasty nut bread.  The spices are not overwhelming, and it was nice and moist on the inside.  It will get even better in the freezer.

Wednesday, October 2, 2013

Chocolate Cake with Orange frosting


I had an extra orange hanging around, so that got me thinking about how to use it.  I was feeling a little bored with my usual rotation of cookies for the treat drawer, so I got out Rose's Heavenly Cakes by Rose Beranbaum and started browsing for a chocolate cake to go with the orange frosting.  She is considered one of the premier cake bakers in the country, appearing on Top Chef, etc.  What I love about her book is that she completely deals with the measurement issues by offering all of the alternatives.  Not only does she list the volume measurements, both sifted and scoop and level, but she also gives the weight in ounces and grams.  You just have to pick one and stick with it and the proportions will be right.  I opted for the grams because they are generally more precise, but I will list all four (!).  Rose believes that the best way to create a light cake is to minimize the amount of time that the wet ingredients interact with the flour, decreasing the time for gluten to form (remember, gluten makes things chewy).  While classically many cakes started with creaming butter and sugar, then alternating wet and dry ingredients, she starts with the dry ingredients in the bowl, then adds the fats, then the wet ingredients.  It's a little different, and as I try different recipes, I'll let you know what I think about the results.

Cakes fall into categories, based somewhat on the fats used.  There are butter cakes, oil cakes, sour cream and oil cakes, etc.  This cake, which she calls a chocolate layer cake, is made with mostly butter, but a little bit of oil.  I appreciate that this recipe makes a single layer, so we won't be overwhelmed with leftover cake.

One of Rose's other preferences is for something called cake strips.  These are a form of insulation around the cake pan to try to even out the baking.  They look like this:


The idea is that if you can slow down the baking at the edges, it will prevent doming.  However, as I will show you later, my cake domed like a champ anyway.  So I'm not completely sold on these.

About cocoa powder:  there are basically two types, alkalized and non-alkalized.  For baking, it is preferable to use alkalized because it has been treated with a mild alkali to mellow its flavor by neutralizing acidity and that makes it more soluble.  Sometimes I use ScharffenBerger, but here I used King Arthur Flour's Double-Dutch Dark Cocoa.


CHOCOLATE LAYER CAKE

1/2 cup plus 1 Tablespoon or 1.5 oz or 42 g unsweetened (alkalized) cocoa powder
1/2 cup (4 fluid ounces) boiling water
2 large eggs, at room temperature
3 Tablespoons (1.5 fluid ounces) water
1 1/2 teaspoons pure vanilla extract
1 1/2 cups plus 1 Tablespoon sifted (or 1 1/3 cups packed) or 5.5 ounces or 156 g AP flour
1 cup or 7 ounces or 200g superfine sugar
2 teaspoons baking powder
1/2 teaspoon salt
8 Tablespoons or 4 ounces or 113 g unsalted butter at room temperature
2 Tablespoons or 1 oz canola oil

Special Equipment:  one 9x2-inch round cake pan, encircled with a cake strip, bottom coated with shortening, topped with a parchment round, then coated with baking spray with flour.

Preheat oven to 350 degrees F, with the oven rack set in the lower third of the oven.

Mix the cocoa and water:  In a medium bowl, whisk the cocoa and boiling water until smooth.


Cover with plastic wrap to prevent evaporation and cool to room temperature, about 30 minutes.

Mix the remaining liquid ingredients:  In another bowl, whisk the eggs, the 3 Tablespoons of water, and the vanilla just until lightly combined.


Make the batter:  In the bowl of a stand mixer fitted with the flat beater, mix the flour, sugar, baking powder and salt on low speed for 30 seconds.  Add the butter, oil, and cocoa mixture.


Mix on low speed until the dry ingredients are moistened.  Raise the speed to medium and beat for 1 1/2 minutes.  Scrape down the sides of the bowl.


Starting on medium-low speed, gradually add the egg mixture in two parts, beating on medium speed for 30 seconds after each addition to incorporate the ingredients and strengthen the structure.  Scrape down the sides of the bowl.


Using a silicone spatula, scrape the batter into the prepared pan and smooth the surface evenly with a small offset spatula.


Bake the cake:  Bake for 27 to 30 minutes, or until a wire cake tester inserted in the center comes out almost clean and the cake appears cooked in the center.  The cake should start to shrink from the sides of the pan only after removal from the oven.


As you can see, despite the cake strip, this cake had a pronounced dome.  However, when it cooled, it came right down and was quite even.


Let the cake cool in the pan on a wire rack for 10 minutes.  Run a small metal spatula between the sides of the pan and the cake, pressing firmly against the pan, and invert the cake onto a wire rack that has been lightly coated with nonstick cooking spray.  To prevent splitting, reinvert the cake so that the top side is up.  Cool completely.


ORANGE FROSTING

1/2 cup or 4 ounces unsalted butter
1 lb confectioner's sugar
3-4 Tablespoons freshly squeezed orange juice
grated rind of 1 orange
1/2 teaspoon orange oil

Combine all ingredients in mixing bowl.


Using the whisk attachment, start to slowly whip the frosting until the sugar and liquids have mixed, then mix on highest speed.  Check after a few minutes to see if the frosting is a good spreading consistency.  Then whip it for another 5 minutes to get a light, easy to spread frosting.

I use my cake dome for frosting, because it turns easily on the countertop.


You will probably have extra frosting, but wouldn't you rather have too much than too little?

Voila!


Tuesday, September 24, 2013

Random Thoughts

Dear Readers,

I have been posting recipes on line for over a year now, and you may have noticed that for the past six weeks or so, I haven't added any new ones (until today).  There are a couple of reasons for that.  One is that I have resumed knitting, and knitting and baking are not very compatible.  Another is that I have now put the majority of my favorite recipes on the blog, and I don't want to post a recipe that I haven't had good success with, because I don't you to repeat my own failure experiences.

I am also thinking about why I started the blog in the first place.  Over the past several years, there have been many people who have wanted my recipes or who have urged me to write a cookbook.  The blog became a way to respond to those requests.  However, I find that it is not easy to search the blog for recipes, and I am now thinking about converting the blog into a cookbook.  Baking for the blog has helped me think about how to communicate the ideas that de-mystify recipes and techniques, so it has been invaluable.  But now I finally feel ready to set down the instructions and photos in a more permanent format.

So my question to you is, do you prefer the blog format, or would you like to see a flesh-and-blood cookbook?

Let me know,

Judy

Pudding Cake


I was having lunch with my friend Leta, and we were reminiscing about childhood desserts, when the pudding cake came up.  Her favorite was the lemon, but mine is the chocolate fudge one above.  This is the simplest of cakes, no eggs, no worry about frosting, and all in one pan.  I decided to go back to my ancient Betty Crocker cookbook, since that is the era of this cake.  Betty Crocker made a mix, but it always tasted a little chemical-y.  It may still be on the shelves, since I haven't looked for it in decades.  Anyway, if you have a yearning for a warm, rich, gooey dessert, this is a very simple way to satisfy that itch.

HOT FUDGE PUDDING CAKE

1 cup AP flour
3/4 cup sugar
2 Tablespoons cocoa (I like Scharffen Berger or King Arthur's Double Chocolate Cocoa)
2 teaspoons baking soda
1/4 teaspoon salt
1/2 cup milk, room temperature
2 Tablespoons shortening, melted
1 cup chopped toasted walnuts (optional)
1 cup light brown sugar (packed)
1/4 cup cocoa
1 3/4 cups hot water

Heat oven to 350 degrees F.

Measure flour, granulated sugar, 2 Tablespoons cocoa, the baking powder and salt into bowl and whisk well.


Blend in milk and shortening;


stir in nuts.


Spread in ungreased square pan, 9x9x2 inches.


Stir together brown sugar and 1/4 cup cocoa;


sprinkle over batter.


Pour hot water over batter.

 Bake 40 minutes.


While warm, spoon cake into dessert dishes and spoon sauce over each serving.

If desired, serve with sweetened whipped cream or ice cream.


9 servings.

See, couldn't be easier.  I actually like it the next day at room temperature as well.  The ice cream doesn't melt as much and the sauce part does have a pudding-like consistency.