We signed up for a baguette course at Zingerman's Bakehouse in Ann Arbor next month, so we decided we'd get more out of it if we practiced a little first. There are so many tiny little variables, and this way we can ask questions that will really help us get better. We did go to a bread baking weekend there a few years ago, which was a lot of fun. I baked bread for a while, then it sort of slipped away. We had such wonderful bread in Paris this Spring and we really can't find anything to compare here. So we decided to master one type of bread at a time.
We went back to our Zingerman's recipe, but it made a massive quantity, so we decided to use the baguette recipe on the King Arthur flour website for the ingredients, and the steps from Zingerman's for procedure. Along the way we discovered that we had many, many questions, so we went to You-Tube to watch some of the specific steps.
This is the first installment, and we'll show you the progress we've made. If you want to try it yourself, I suggest you wait until we've ironed some of the wrinkles out.
INGREDIENTS:
Poolish (starter)
1 1/2 cups King Arthur Unbleached All-Purpose Flour
3/4 cup cool water (approximately 60 degrees F)
a pinch of instant yeast
Dough
2 1/2 cups King Arthur Unbleached All-Purpose Flour
1 teaspoon instant yeast
2 teaspoons salt
all of the Poolish
3/4 cup cool water (approximately 60 degrees F)
This is the "Baguette Pan recipe" because we wanted to use our baguette pan.
We started the night before by making the Poolish. Put all three ingredients into a medium mixing bowl and mix together until all of the flour and yeast is incorporated into the water.
Cover the bowl with plastic wrap and allow the mix to ferment for 12-15 hours. Ours looked bubbly and happy at 14 hours, so we dumped it into a mixing bowl:

Mixing the dough:
In a large bowl, mix together the polish, water and yeast and combine thoroughly with a wooden spoon. Add half the flour and mix with the wooden spoon until the polish and flour are well combined. The mixture will look like a thick pancake batter.
Add the salt and remaining flour and fold the mixture to incorporate the dry and wet ingredients.
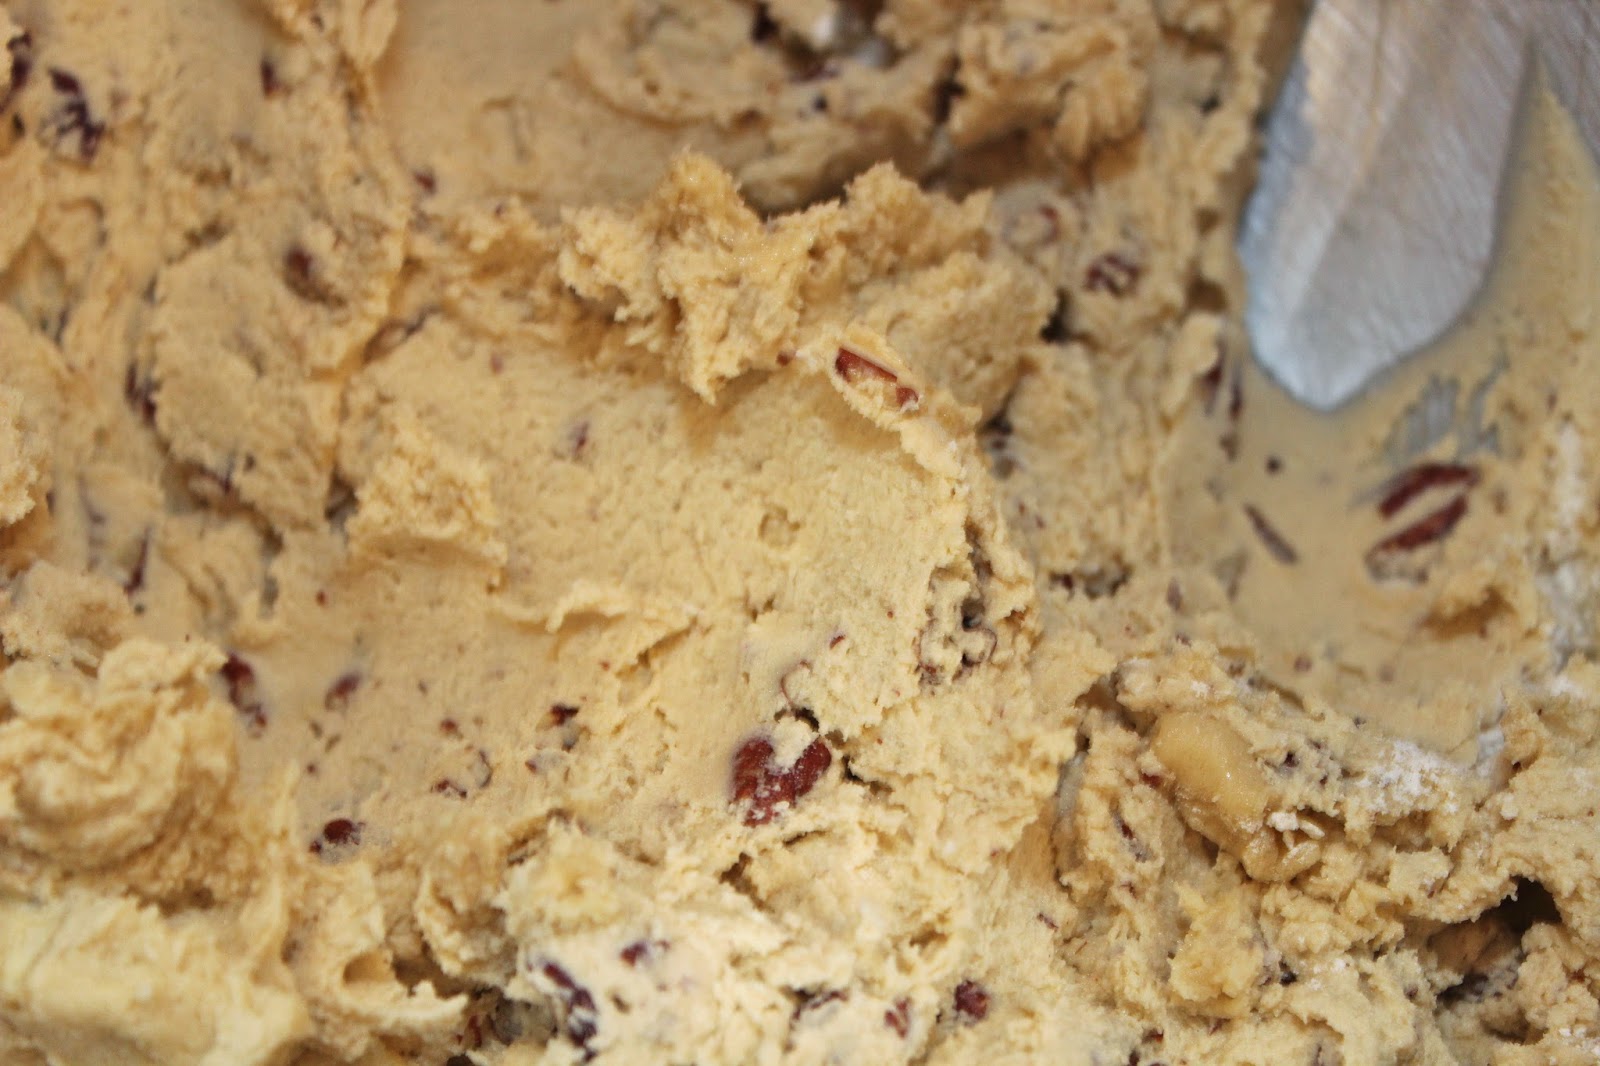
Continue mixing the dough until it becomes a shaggy mass.

Scrape the side of the bowl with a scraper to pick up any dry bits. Remove the dough from the bowl.
The recipe says "knead the dough for 6-8 minutes." It turns out that there are several different kneading methods, so we resorted to that modern answerer of all questions: YouTube. I asked for videos of kneading baguette dough, and up popped one on French kneading by a lovely young man named Simon. Here's the link:
https://www.youtube.com/watch?v=PvdtUR-XTG0
Steve had great fun slapping the dough on the counter top. It went from a shaggy looking glob of dough to a reasonably smooth ball of dough although not quite as beautiful as Simon's. Kneading dough is clearly an art form, and to do it well, one needs lots and lots of practice. Still, we thought the video helped a lot.


So Steve kneaded the dough for about 12 minutes and then put it in a greased bowl (we sprayed it with PAM, but you can brush it with oil if you like) and covered it with plastic wrap. Then we let it ferment for 1 hour.
At the end of an hour, we dusted the counter with flour. We uncovered the dough and turned it out onto the floured surface. The next step is folding the dough, so we went back to YouTube:
https://www.youtube.com/watch?v=hO8Kt0r00lo
This gentleman is from America's Test Kitchen and shows very clearly how to fold the dough.
After folding, the dough goes back into the greased bowl for another hour.

Again the dough is turned out onto the floured surface, and folded again. This time, you just leave the dough on the surface and cover with plastic and let it rest for another 30 minutes.
The next step is dividing the dough and pre-shaping it, so back to YouTube. This time we found the King Arthur flour bakery instructors:
https://www.youtube.com/watch?v=dt6pbWYbqPE
Because of the size of the recipe, we divided ours into 3 pieces of around 9 ounces each. We formed them into ovals, because we were planning to make long, thin baguettes. Then we covered them with plastic again and let it rest another 30 minutes.

Finally we were ready to shape them, so we went back to our (now) friends at the King Arthur Kitchens and looked at the YouTube video on shaping baguettes:
https://www.youtube.com/watch?v=HuQ5K9eLfJ0

We let them rise another 45 minutes after we put them in the baguette pan while the oven heated to 500 degrees F. We put a baking stone on the middle rack, and a rimmed baking pan with a folded towel soaked with water on the lowest rack so we could create steam for the initial baking period.
When the dough was ready to go into the oven, Steve made 3 slashes across the top of each loaf, and then in they went. As soon as they went in, I lowered the heat to 475 degrees F.
After about 13 minutes I removed the baking sheet with the towel in it.
I lightly baked two of the loaves for later re-heating, which meant they were in a total of 15 minutes. The last loaf, the one we ate right away, was fully baked in a total of 18 minutes. As soon as they came out, we put them on a cooling rack.
The next day, Steve reheated the oven to 350 degrees F., and baked one of the loaves for 20 minutes and it was even crustier than the first day. Success!!