Translate

Monday, April 29, 2013

Strawberry Shortcake


It's finally Spring!  Strawberries are starting to taste like themselves again, although they're still a little tart.  I've tried lots of different shortcake recipes through the years, but none that I like as much as Nigella Lawson's scone recipe in How to Be a Domestic Goddess (which is a GREAT title, by the way).  And if you have a scone or two left over you can reheat it and spread it with cherry or apricot preserves.  So here goes:

STRAWBERRY SHORTCAKES

2 cups plus 2 Tablespoons AP flour
1/2 teaspoon salt
1 Tablespoon baking powder
3 Tablespoons sugar
1/2 cup (4 ounces) unsalted butter, frozen
1 large egg, beaten
1/2 cup milk (Nigella uses cream, but if you don't have any on hand, milk is fine)
1 egg white, lightly beaten
2 Tablespoons sugar

approximately 11 ounces strawberries
1 Tablespoon sugar
1 cup heavy cream, whipped with 2 Tablespoons confectioner's sugar and 1/2 teaspoon vanilla

Preheat the oven to 400 degrees F.

Line a baking sheet with parchment.

Mix the flour, salt, baking powder, and 3 Tablespoons sugar in a bowl.  Grate the butter into these dry ingredients


and stir with a fork as you go so the butter doesn't clump together.

Whisk the egg into the milk,

and pour into the flour mixture a little at a time, using a fork to mix.


Don't over mix it.  It should look about like this:


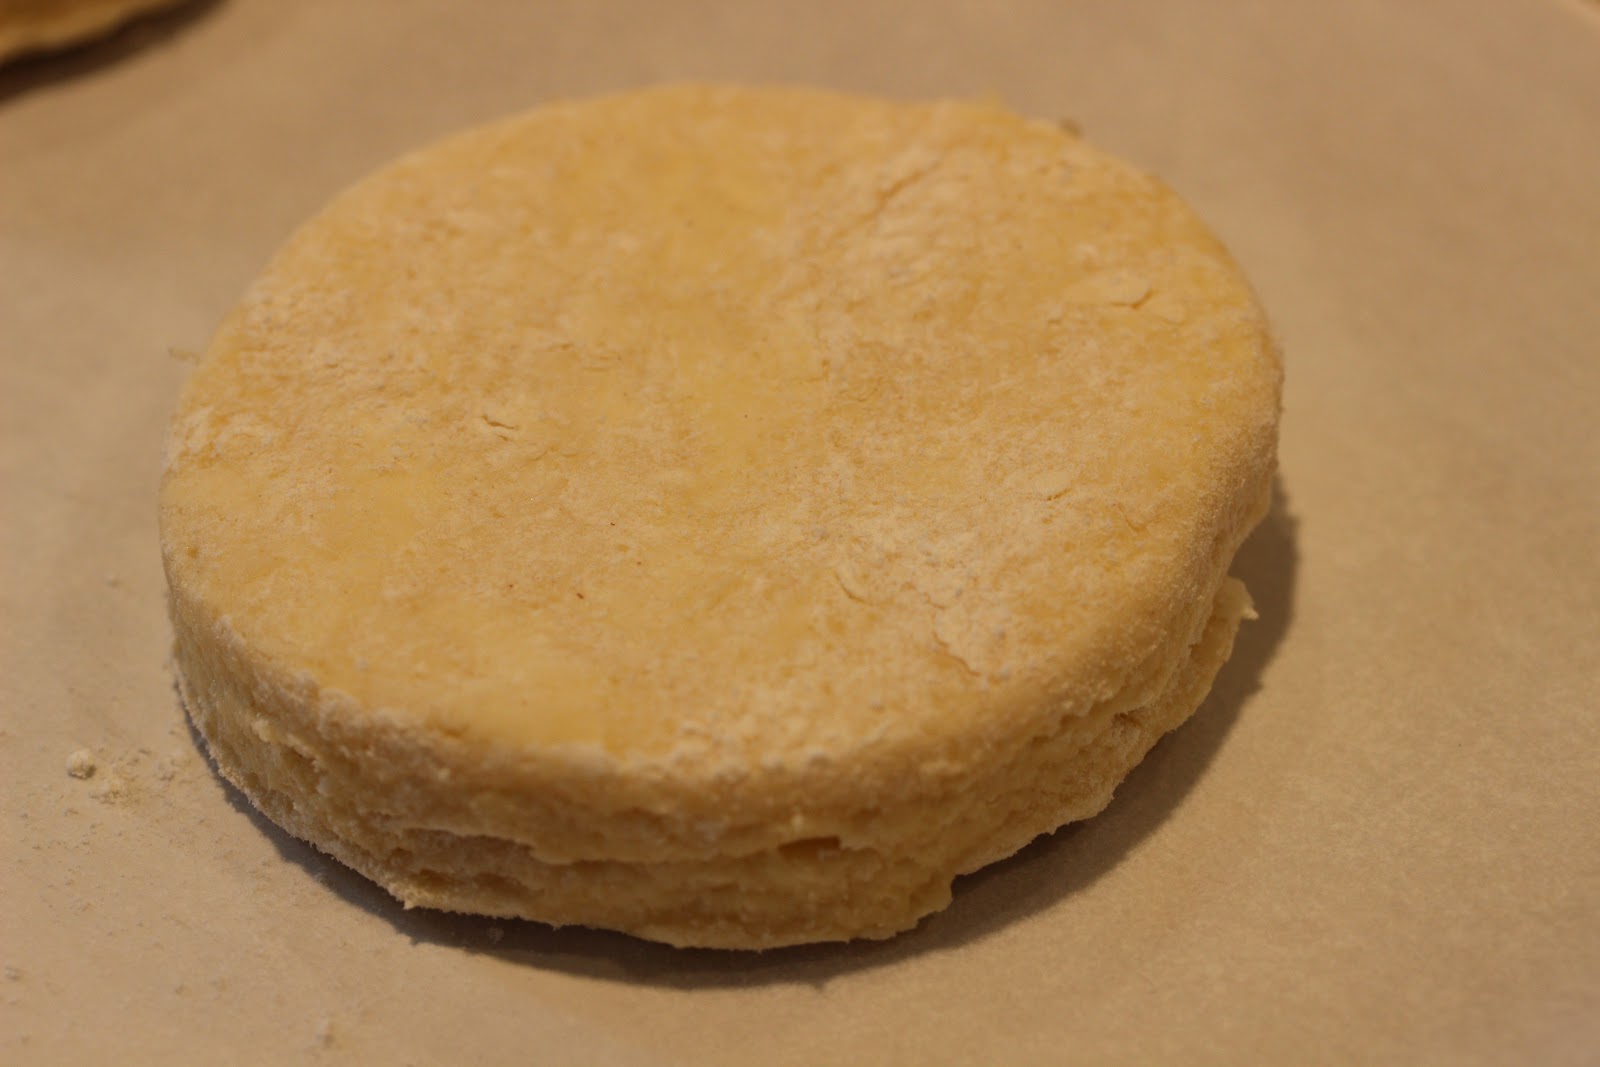
Turn the dough out onto a floured surface and flatten and fold it a few times.


Roll gently to a thickness of about 3/4-inch.


Dip a 3-inch round cutter (or a glass if you don't have one) in flour, and cut straight down, being sure not to twist it (so the layers can separate and rise in the oven).  Cut out as many rounds as you can--you should get 7 or 8 in all.


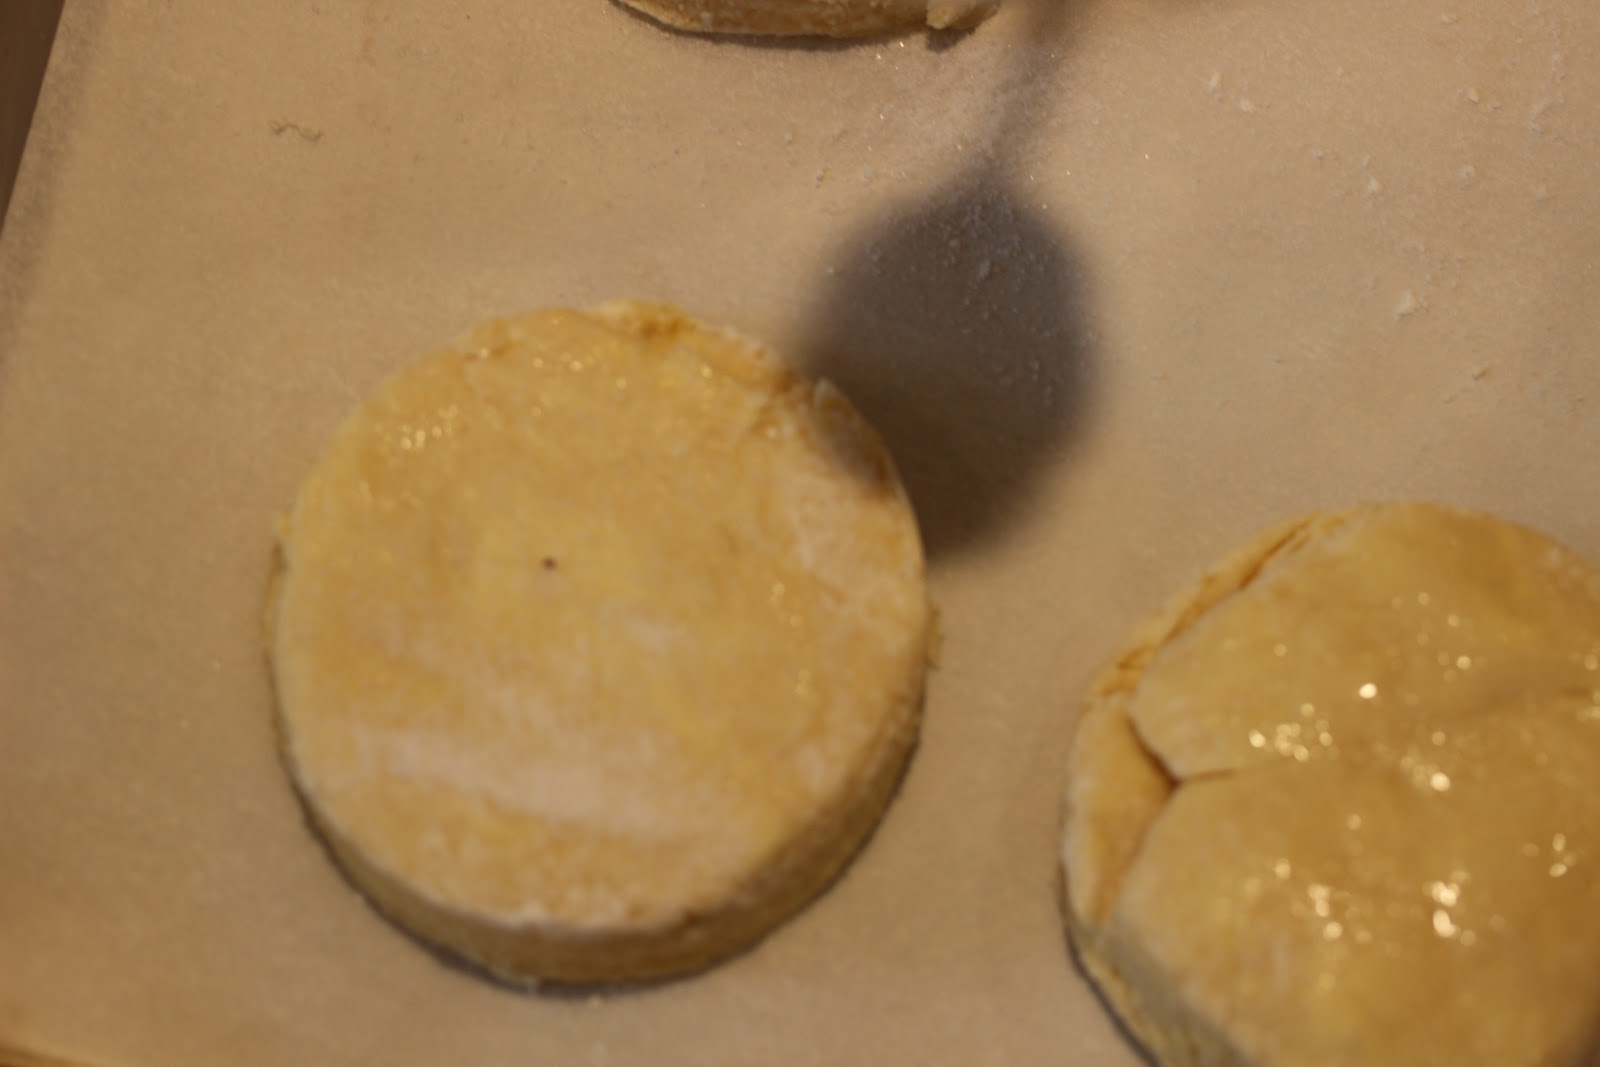
Place the shortcakes about 1 inch apart on the baking sheet, brush the tops with the beaten egg white, which should look about like this:


 and sprinkle with the remaining 2 Tablespoons of sugar.


If it helps with the rest of your cooking, you can cover and refrigerate them now for up to 2 hours.

Bake for 10-15 minutes, until golden brown, and let them cool for a short while on a wire rack.  You can see how nicely the layers have separated here


which is a combination of the folding and not twisting when you cut them out.

Meanwhile, crush about 1/3 of the strawberries with 1 Tablespoon sugar.


Halve or quarter the rest of the strawberries and add sugar if they're tart.  (Later in the summer you won't need to).  If you do the strawberries ahead the sugar will soak into them and they will soften somewhat...very useful when they aren't totally ripe).  Whip the heavy cream with confectioner's sugar and vanilla.

To assemble, split each one across the middle


 and cover with a spoonful of the crushed strawberry mixture, (which will soak into the scone)


and then add the larger strawberries (I like to be generous).


Finally, add a dollop of whipped cream and set the top back on.

Makes 8.

Thursday, April 25, 2013

Sam's Grandmother's Carrot Cake


When I was an undergraduate at Berkeley in the 1960s, I lived right across the street from a funky little grocery store.  Once a week they'd put up a sign advertising carrot cake.  I never bought it because I couldn't get my mind around a vegetable in a cake (and I couldn't really afford it).  Fast forward ten years and I was in graduate school at USC, and from time to time I'd get together with two other students, Connie and Sam, and we'd study late into the night.  To fortify ourselves and give us the incentive to keep awake, Sam made his grandmother's carrot cake.  It was so simple he could do it from memory, and it required very little in the way of specialized equipment.  As long as you had a grater, and some kind of baking pan (we used a rectangle or a bundt pan), you were in business.  I have only changed a few things over the years, but the biggest change was to dramatically increase the amount of carrots and to cook it much less, both of which yield something, which if done correctly, is moist and gooey, almost like a pudding in the middle.  And, of course, the irony is that now I'm Sam's grandmother!

A couple of notes before we begin.  While we used an old-fashioned grater in the old days, now I use the grating attachment to the cuisinart, which looks like this:


It greatly simplifies things and saves your knuckles from being grated.  Still, this is a luxury item, not a necessity.  You'll want to grate the carrots first, as they're the only labor-intensive part of this recipe.

First, I peel the carrots and cut them into pieces that will fit into the cuisinart standing up, like this:


It's important to try to pack the carrots in standing up so that you don't get long thin strips of carrots.


Originally, the recipe called for about 3 cups of grated carrots, but I gradually increased them and currently I like to use most of a 2 pound bag of organic carrots.  It may seem like a lot, but they're mostly water and they cook down into the batter.  When you're done, it'll look like this:


Also, this is an old recipe, so I have always used scoop and level to measure the ingredients.  Just scoop your 1 cup measure in the flour and level it with a knife.


Oh, and don't forget to toast the nuts now, if you're going to use them.

SAM'S GRANDMOTHER'S CARROT CAKE

2 cups AP flour
2 cups sugar
2 teaspoons cinnamon (I like to use Chinese cassia)
1 teaspoon baking soda
1/2 teaspoon sea salt
1 1/2 cups canola oil
1 3/4 lb shredded carrots
4 eggs, at room temperature
Optional:  1 cup toasted pecans or 1 cup toasted walnuts or 1 cup baking raisins...your call

Cream Cheese Frosting:

8 ounces cream cheese, at room temperature
4 ounces unsalted butter, at room temperature
2 teaspoons vanilla
16 ounces powdered sugar

Preheat oven to 350 degrees F.

Grease and flour a 9x13-inch pyrex pan.  [I have experimented with using a metal one and it dries the cake out too much]

Mix dry ingredients in the bowl of a mixer (or by hand if you don't have one).


 Add the canola oil and mix completely on medium speed if you are using a mixer.


 Add the eggs, mixing after each addition.


This is what it should look like at this point:


Add carrots and mix thoroughly.


When carrots are evenly distributed, add the nuts or raisins if you're using them.


The finished batter should look like this:


 Pour the batter into the prepared pan,


 then spread it evenly in the pan.


Bake for 35 minutes, then test to see if a toothpick comes out slightly damp.


You really don't want to overcook it, so don't wait until the center has completely risen or a toothpick comes out clean.  This is a moist cake, so there should be some moisture on the toothpick.


The cake has to cool completely before it can be frosted.  This is the hard part, because it smells so good.  And when we were studying late at night, it was excruciating.  It will probably take almost two hours to be completely cool, so plan accordingly.  Maybe start it in the morning.

Anyway, once it has cooled you can start on the frosting.  Again, it can be made by hand, but if you have a mixer with a whisk attachment, you will be able to achieve a light, fluffy frosting by whipping air into it.

Start by mixing the butter, cream cheese, and vanilla to blend.


Next, add the powdered sugar.  You can add it in two parts, and start the mixer very slowly to reduce the powdered sugar-dust that tends to want to coat everything in sight.


 After you have all of the sugar mixed in, it will look like this:


Continue mixing for about 5 minutes, or until the frosting is light and fluffy and it looks like this:


I pour it all on top of the cake,


then spread it into the corners.


Now, in the old days we ate the cake immediately (usually around 2am).  Now, I put it in the refrigerator overnight.  The next day we'll have it for dessert, and then I'll cut the rest into squares and freeze them, 3 or 4 to a packet.  Remember to double-wrap them, first in good plastic wrap, then in a freezer-grade zipper bag.  This is another dessert that absolutely improves with freezing.  To defrost, place a single piece of cake on a plate and microwave it for 25 seconds at 40% power.  Those are the settings that work in my microwave, so yours may be different and you'll have to play around with it.  

Wednesday, April 10, 2013

Chicken with Cashews


When we moved to State College in 1986, it was definitely a culture shock.  In Los Angeles, we had Chinese food most every week from Panda Inn in Pasadena, the original restaurant from which the Panda Express restaurants later emerged.  Andrew (the owner's son and maitre'd) knew us so well that as soon as he recognized our voices he could recite our order.  We still miss the hot burned pork and spicy shrimp with cashew, neither of which are served any longer.  We would trek down to Monterey Park for dim sum, fresh and delicious, and drive out to Northridge for Thai (at the restaurant all of the interns and supervisors haunted when I was on internship at the Sepulveda VA).

In State College there were a few Chinese restaurants, but they were a pale shadow of the excellent and varied food we had enjoyed in California.  So I had to learn to cook Chinese.  I had brought along a basic book, called Betty Crocker's Chinese Cookbook by Leeann Chin.  Yes, Betty Crocker.  No idea why.  Let me backtrack.  When I was growing up in the East Bay, my parents would pack us in the car and take us to Chinatown in San Francisco.  We ate at a small restaurant, Nam Yuen, where the six of us could eat Cantonese food for very, very little money.  Then we'd wander through the Chinese emporiums admiring the silk pajamas with their intricate frogs, and the garish fans and chop sticks.  Of course, as children we thought everything was both exotic and beautiful.  Around the time I was a teenager, Mandarin was all the rage, but it was more expensive, so we rarely had that.  Then, when I was in college at Berkeley, a "Northern Chinese" opened, and we were introduced to Szechwan and Hunan dishes.  By the time I migrated to Los Angeles, there were a wide variety of cuisines represented.  Panda Inn carried the whole range, and did an excellent job.

When I started learning to cook Chinese from this cookbook, Mike and Tom were teenagers, and they had been huge fans of Panda Inn.  This dish, Chicken with Cashews, is a Szechwan-inspired dish, but it does not have to be too spicy...you can control the heat, which comes from a chili paste called Sambal Oelek.  I think it is Indonesian, but you can find it in a variety of cuisines, and as you can see, this brand is manufactured in Rosemead, California.


As a side note, when Steve and I were in Hong Kong in 2011, our hosts kept taking us to Cantonese restaurants, so when we got out on our own we purposely went to a Hunan restaurant, where we ordered Sichuan (alternate spelling) Shrimp.  It came in a large bowl filled with Sichuan peppercorns, with the shrimp nestled in them.  It was so hot that your tongue immediately got numb, but they were absolutely delicious!  This dish is nothing like that, so don't be afraid.

Here is the mis en place:


Another note:  I like Koon Chun Hoisin sauce, which I find at Wegman's or the Asian market.

CHICKEN WITH CASHEWS (SZECHWAN STYLE)

2 whole chicken breasts (about 2 pounds), skinless and boneless
1 egg white
1 teaspoon cornstarch
1 teaspoon soy sauce
Dash of white pepper

1 large green pepper
1 medium onion
1 can (8 1/2 ounces) sliced bamboo shoots, rinsed and drained

1 Tablespoon cornstarch
1 Tablespoon cold water
1 Tablespoon soy sauce

2 Tablespoons vegetable oil
1 cup raw cashews
1/4 teaspoon sea salt

1 teaspoon finely chopped gingerroot
2 Tablespoons vegetable oil
1 Tablespoon Hoisin sauce
2 teaspoons chili paste (more or less depending on how hot you want it)
1/4 cup chicken broth
2 Tablespoons chopped green onions

Cut chicken into 1-inch pieces.


 Mix egg white, 1 teaspoon cornstarch, 1 teaspoon soy sauce and the white pepper in a glass or plastic bowl; stir in the chicken.  Cover with plastic wrap and refrigerate 20 minutes.

Cut green pepper into 3/4-inch pieces.  Cut onion into similar sized pieces.

Mix 1 Tablespoon cornstarch, 1 Tablespoon water, and 1 Tablespoon soy sauce and set aside.

Heat wok until 1 or 2 drops of water bubble and skitter when sprinkled in wok.  Add 2 Tablespoons vegetable oil; rotate wok to coat sides.  Add cashews and


stir-fry cashews until light brown, about 1 minute.  Remove cashews from wok; drain on paper towel.  Sprinkle with salt.


 Add chicken to wok; stir-fry until chicken turns white.


Remove chicken from wok.

Add onion pieces and ginger root to wok; stir-fry until ginger root is light brown.


Stir in bamboo shoots.


Add 2 Tablespoons vegetable oil; rotate wok to coat side.  Add chicken, green pepper, Hoisin sauce and chili paste; stir-fry 1 minute.


Stir in chicken broth, heat to boiling.  Stir in cornstarch mixture; cook and stir until thickened, about 20 seconds.  Stir in cashews and green onions.


Makes about 5 servings.

The trick with stir fries is to have everything prepared, because the cooking takes only a few minutes.  I usually allow about an hour to make this dish.  It's simple, but tasty.