Translate

Sunday, January 27, 2013

Apple Crisp


Somehow, in the Fall when the apples first started appearing, I forgot to make an Apple Crisp.  Last week I made both La Brea Brownies and a new recipe, Browned Butter Chocolate Chunk cookies (which I'll do here when I make them again...they were that good), but I felt that we needed something fruity as a contrast to the chocolate-y things in the treat drawer.  And it's mid-season, so the apples are still crisp and not yet mealy.  The Granny Smiths were the best looking apples at the store, so I bought 4 big ones.  The original recipe that I use, from Beat This, a compilation of recipes published in 1993, calls for 4 cups, and an 8"x8" pyrex pan.  I'm guessing that 4 cups would be around 3 of these big apples, so I decided to use a nice 8"x11" casserole dish, and to increase the topping accordingly.  It turned out to be really, really good, so let's go with these measurements (which are a slight departure from the original).  This is such a simple recipe that it's a good one for children and novice cooks because you really can't go wrong.


APPLE CRISP

4 large Granny Smith apples
1 Tablespoon plus 2 teaspoons fresh lemon juice
3/4 cup AP flour
1 7/8 cups old-fashioned rolled oats
1 cup light brown sugar, packed
1 7/8 teaspoons Vietnamese cinnamon
3/4 teaspoon salt
3/8 teaspoons grated nutmeg
3/16 teaspoons ginger (or close enough)
10 Tablespoons (5 ounces) unsalted butter, melted

Preheat the oven to 375 degrees F.

Cut the apples into quarters and peel them.  Slice them about 1/4"-thick, like this:


Place them in an 11"x8" baking pan or pyrex pan, and toss them with the lemon juice.  I didn't have a fresh lemon, so I used ReaLemon, which is okay in a pinch.


In a large mixing bowl, mix the rest of the ingredients except the butter, starting with the flour and oats,


adding the sugar and spices,


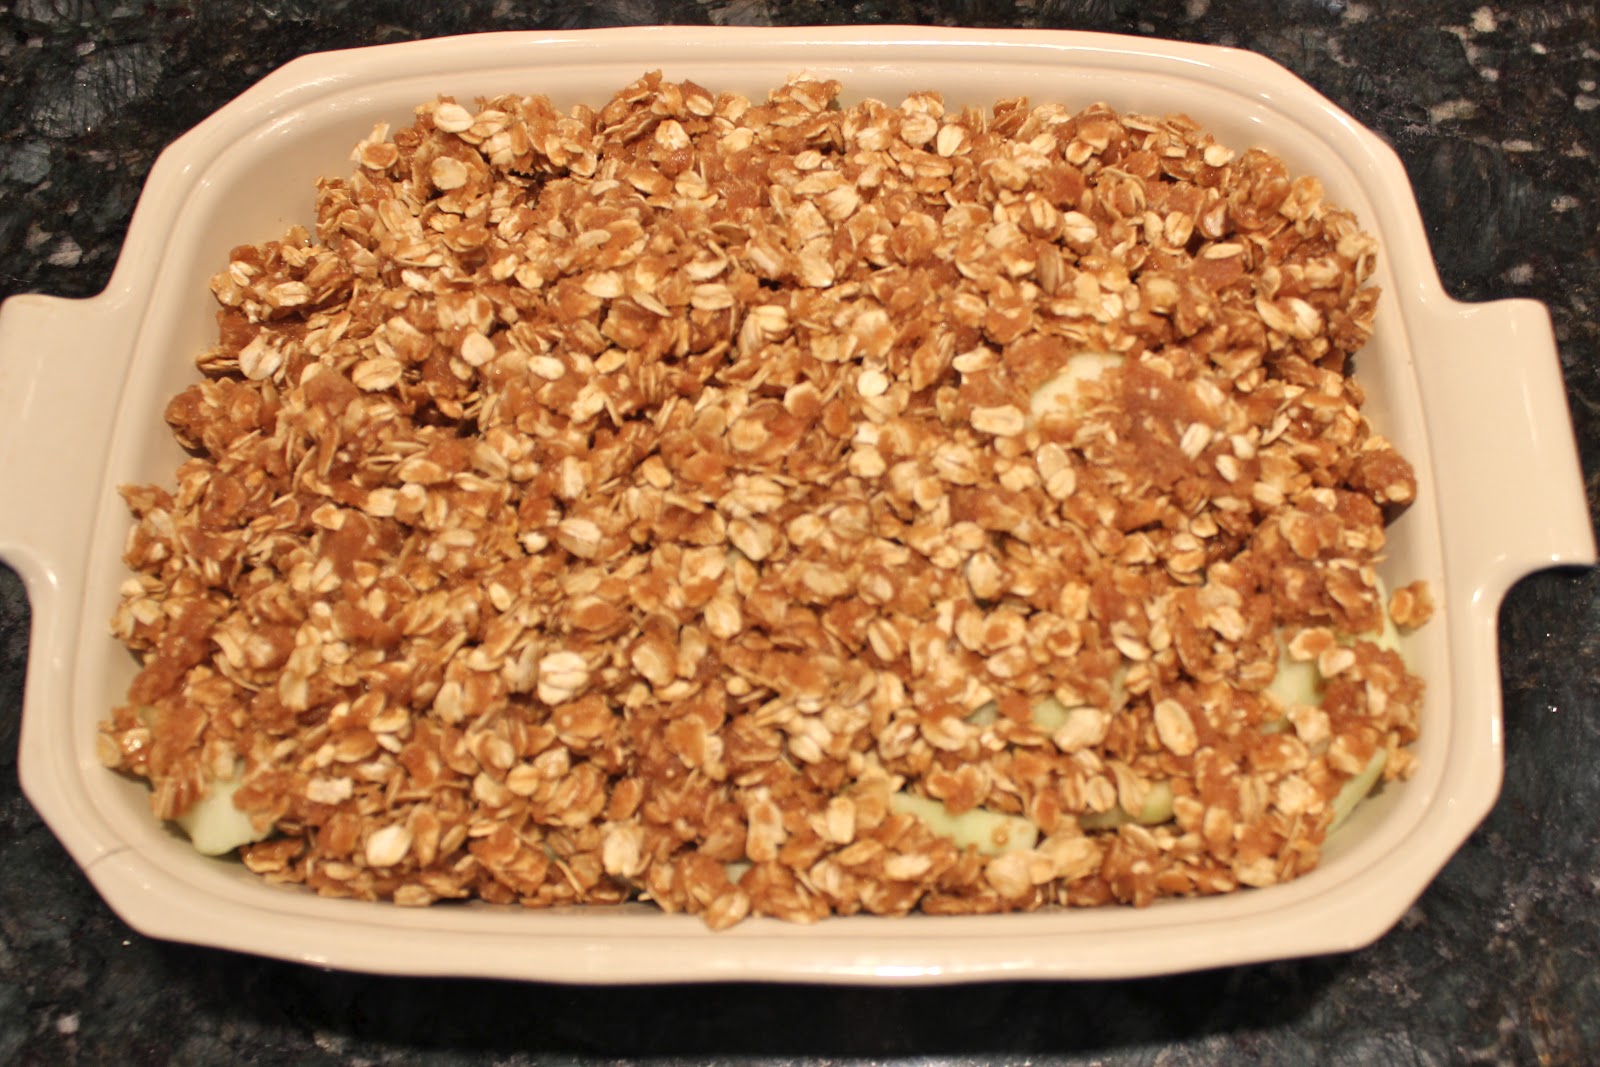
and mixing it all together.  Stir in the melted butter, and spoon it over the apples,


making sure that the apples are evenly covered.


Bake for 30 minutes at 375 degrees and serve warm with ice cream.  The smell of it baking will drive you crazy!

Serves 6.

Tuesday, January 15, 2013

Chicken Schnitzel


We're recovering from the excesses of the holiday season...well, sort of.  And our friend, Briana, is staying with us for a while as she works on her research.  She's interested in learning some basic cooking skills, so we're having some fun dinners that she can impress her friends with when she gets home.  You can see the latest iteration of the biscuit recipe on the plate, and next to it is Tom Keller's Panko-Coated Chicken Schnitzel.  If it were pork or veal and we were in Germany or Austria it would be Weiner Schnitzel.  But we're here, and it's chicken, so hence the name.  As with many cooking preparations, there is something similar in Italy and even to some extent, in China, and probably lots of other places in between.  This is a dish that is fun for children to help with, particularly the pounding of the chicken breasts and coating the cutlets.

CHICKEN SCHNITZEL

4 skinless, boneless chicken breast halves (about 6 ounces each), butterflied and pounded 1/4-inch        
       thick)
Salt and coarsely ground pepper
1 1/2 cups AP flour
4 eggs, well-beaten
2 cups Panko (Japanese bread crumbs)
1/4 cup canola oil
6 Tablespoons butter
2 teaspoons capers
2 Tablespoons lemon juice
1 Tablespoon chopped parsley

The first order of business is butterflying and pounding the chicken breasts.  This is necessitated by the incredibly overbred chickens we have available in this country.  The poor babies can probably hardly walk without falling on their faces.  They have gigantic breasts and sad little legs and thighs, a function of this country's obsession with low-fat chicken breasts.  Consequently, generations of chickens have been bred for larger and larger breasts, which is the polar opposite of the situation in France, where the dark meat is prized.  Their chickens have large legs and thighs and fairly normal sized breasts.  Those of us who are over 60 can remember when chicken breasts were about half the size they are now.  Anyway, I digress...

When the recipe says to butterfly the chicken breast, it means to cut it in half like this:


The goal is to have somewhat uniform size and thickness.  Then you place each piece between two pieces of plastic wrap and pound on it until it is about 1/4-inch thick.  It will expand as you pound it.


As you can see, it is larger than it started and fairly evenly flattened.


Season both sides with salt and pepper.

Set the flour, eggs, and panko in three separate shallow bowls (you don't have to have the fancy stainless steel interlocking trays that I have).  Dredge the chicken in the flour, shaking off any excess,


then dip in the eggs


and coat lightly with the Panko, pressing lightly to adhere.


Place them on a baking sheet lined with waxed paper.


There is really no tidy way to do this, so expect your hands to look like this:


In each of 2 large skillets, heat 1/4 cup of canola oil (or one giant pan like mine if you have one and have a large enough cooktop).  Add the chicken and cook over moderately high heat, turning once, until golden and crispy, about 3 minutes.


Transfer the chicken to a paper towel-lined baking sheet and sprinkle with salt.


Meanwhile, in a small saucepan, melt the butter and cook over moderately high heat until browned and nutty, about 4 minutes.  Browned butter is a very special flavor, so I'll give you a few tips to get it right, because if you go too far it goes from browned butter to burned butter very quickly.

First, you melt the butter.  It will bubble up like this:


Once the bubbles have subsided, you will want to watch it very carefully, swirling the pan frequently to see if the butterfat solids that have settled on the bottom have begun to brown.  There is a characteristic smell that is slightly nutty as well.  As soon as you see brown flecks in the butter, take it off of the heat.


I like to combine the lemon juice, capers and parsley like this:


Then I pour the combination into the butter,which makes it bubble up again.  


Spoon or pour the browned-butter sauce over the chicken cutlets.


And now you have this beautiful and delicious dish:


Saturday, January 5, 2013

Christmas Cookies II: Poppy seed Cookies


Technically, this isn't really a Christmas cookie, since it's a recipe that was passed down from Steve's Jewish grandmother and mother, but at our house, we blend the holidays...the more holidays, the merrier.  And Steve loves Christmas in a way that only someone who didn't get to celebrate it as a child does.  He loves the decorations, and especially, the lights, ah, the lights.  No staid Victorian white candles in each window, not for us.  In our last house, he would string hundreds of blinking multi-colored lights around the porch and roofline, to the extent that the older boys claimed our house could be identified from aircraft. Our roof is too high now, so we've expanded out into the yard with two lighted penguins, and reindeer that turn their heads (the herd stands at two for now).  There was the threat of an inflated Garfield, but I have to draw the tackiness line somewhere.  It's not easy finding high quality blinking colored lights (lack of demand?  most of them made in China?), but we located a small firm in California that meets our needs.

So, back to the cookies.  There's an intrinsic challenge to a cookie that you only make once a year, especially if the recipe is hand written and fairly cryptic to begin with.  The aforementioned grandmother used the "a handful of this and a bit more of that" approach to measurement, and Steve's mother wrote down her best guess on amounts, but leaving "a little bit more" for a couple of the estimates.  We tried to simplify the technique by doing the cookies in the mixer this year, and while they tasted okay, they weren't as good as either of us remembers.  So we made another batch today, which is the recipe that follows.

POPPYSEED COOKIES

2 Tablespoons butter, cut into 1/2"-square pieces
4 Tablespoons shortening, in similar sized pieces

2 1/8 (9 oz) cups sifted flour
1 Tablespoon baking powder
1/2 teaspoon salt
1/2 cup sugar
6 Tablespoons (1 1/2 oz) poppy seeds

1/4 cup milk, room temperature
2 eggs, room temperature

1/4 cup milk
1/3 cup sugar
1/2 teaspoon cinnamon (we used Indonesian)

Preheat oven to 425 degrees F.

Place butter and shortening pieces in the refrigerator to firm up.

Sift dry ingredients and whisk in poppy seeds.


Cut in butter and shortening.


Whisk together milk and eggs and add to dry dough.  Work liquids lightly into a soft dough. (You should still see pieces of butter in the dough.)


Working on a floured surface, fold the dough over 4 or 5 times, like this:


Roll out to 1/4-inch thick.  Keep the surface lightly floured so the wet dough does not stick.  Also, lightly flour the top of the dough so the dough does not stick to the pin.


Cut into 2 1/2"-3"rounds with a floured biscuit cutter or glass.


Place cookies on parchment-lined baking sheets.  Brush cookies with milk.  Mix sugar with cinnamon and sprinkle generously over cookies.


Place cookie sheets with cookies in a freezer for 8 minutes, then bake for 10 minutes.  Notice how the cookies rise, compared to the unbaked ones.


Makes about 2 dozen cookies.


Our experiment today was to vary the fat (1/3 butter, 2/3 shortening), and then to freeze the cookies before baking.  These cookies are very biscuit-like, so having some butter in them and freezing it helps them not bake took quickly and facilitates the rise.  What we were looking for was a light cookie that was crisp outside, and this particular method seems to work best.

*For the very observant:  guess who was baking these cookies today.