Translate

Wednesday, February 6, 2013

Recipe Index

I've decided that it's time to do a recipe index, which I will update periodically.

Apple Crisp                                                  1/27/13


Apple Galette                                               10/5/12


Banana Cake with Walnuts                            5/22/13


Banana Nut Bread                                                10/6/13


Beef Wellington with Green Peppercorn Sauce  1/1/14


Biscuits                                                         10/19/12


Blondies                                                        8/25/12


Blueberry Coffee Cake                                   7/14/13


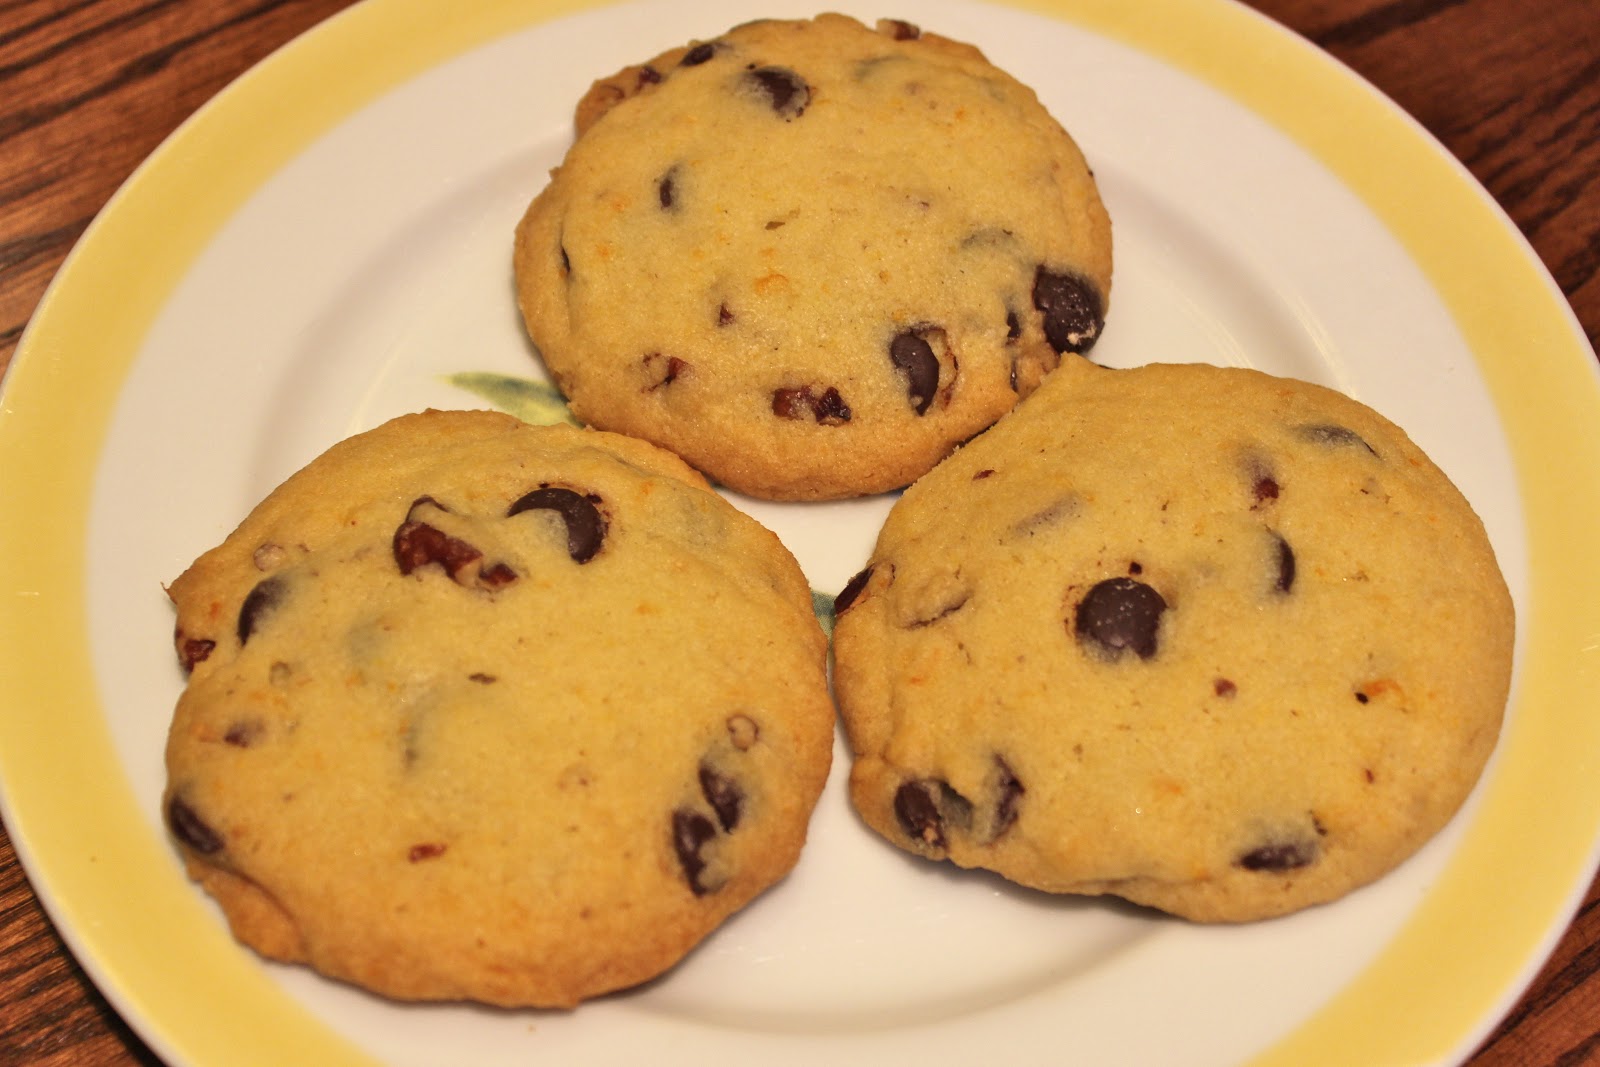
Browned Butter Chocolate Chip Cookies     2/6/13


Bucatini with Butter Roasted Tomato Sauce  1/12/14


Caramelized Black Pepper Chicken              3/1/13


Char Siu Grilled Lamb Chops                        7/20/14


Cheese Monger's Mac & Cheese                   1/29/14


Cherry-chocolate chip scones                        9/2/12


Chicken Scarpariello                                     12/12/12


Chicken Potpie                                              2/6/13


Chicken with Cashews                                  4/10/13


Chocolate Cake with Orange Frosting          10/2/13


Chocolate Chip Cookies                                9/29/12


Chocolate-Pistachio Sables                            1/11/14


Cinnamon Rolls w/Orange Frosting              10/12/12


Citrus Roasted Asparagus                              12/9/12


Curried Chicken Potpie                                  3/12/13


Dark Chocolate Peanut Butter Cookies      2/28/14


Eggplant and Beef Stir-fry                              1/20/14


Enchiladas Suissas                                          8/2/14


Fallen Souffle Cake                                         1/1/14


Flops                                                               3/17/13


Fresh Peach Pie                                               8/13/13


Giant Ginger Cookies                                    11/11/12


Giant Peanut Butter Cookies                        8/2/14


Goat Cheese Ravioli with Bell Peppers and Brown Butter  1/12/14


Granola                                                          12/19/12


Grilled Fish Tacos                                          6/24/14


Island Pork Tenderloin Salad                         6/14/13


Kung Pao Shrimp                                           6/24/14


La Brea Bakery Brownies                              9/18/12


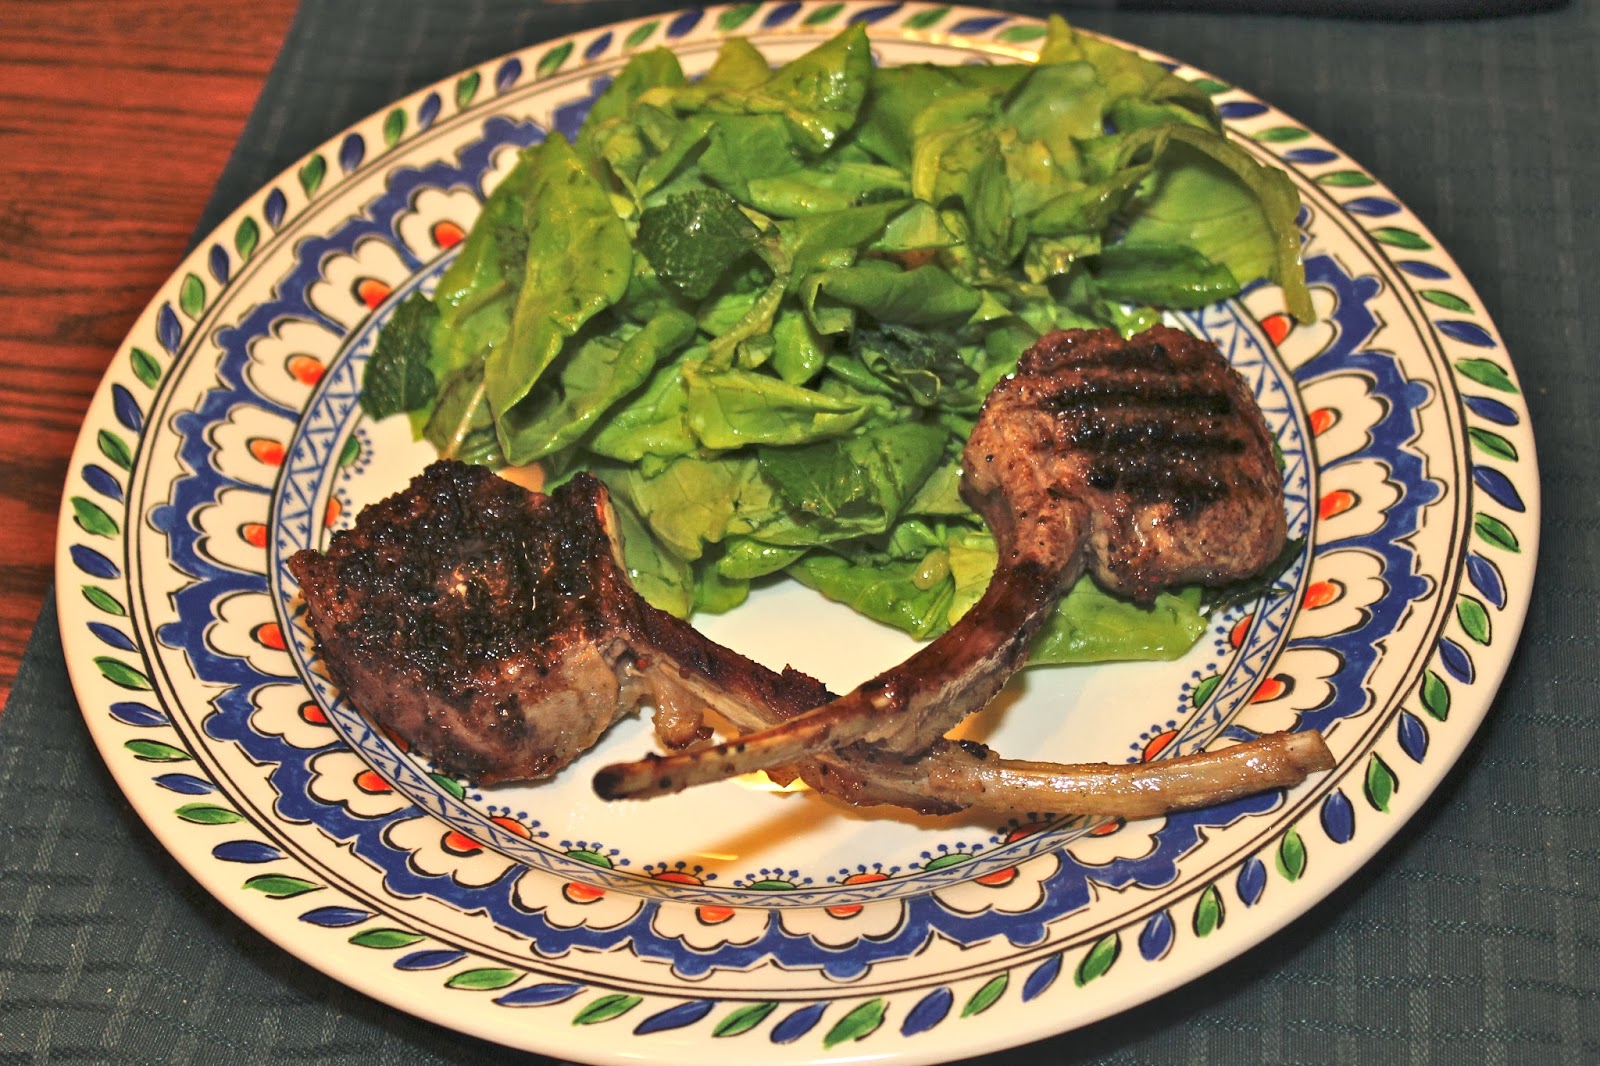
Lebanese Lamb Chops with Lemony Lettuce   1/28/14


Lemon Tea Cake                                            2/10/13


Levain-Type Chocolate Chip Walnut Cookies  2/15/14


Lime Pie                                                          3/24/13


Macaroni & Cheese                                        10/27/12


Malaysian Glazed Chicken Wings                    5/21/13


Meatloaf                                                          11/2/12


Modern Appliances                                         9/13/12


Molten Chocolate Cake                                    5/16/13


Moroccan Beef Short Ribs                                1/6/14


Oatmeal Cookies                                             11/25/12


Orange Chocolate Chip Pecan Cookies            3/12/13


Oven Roasted Potatoes                                    12/16/12


Parker House Rolls                                          12/9/12


Peanut Butter Munchies                                   8/5/14


Pecan & Chocolate Tart                                   12/9/12


Poppyseed Cookies                                          1/5/13


Pork Tenderloin Stir-fry with Clementines and Baby Bok Choy  1/8/14


Pudding Cake                                                  9/24/13


Pulled Pork                                                      7/9/14


Red Velvet Cake                                              2/3/13


Sam's Grandmother's Carrot Cake                  4/25/13


Shaking Beef                                                   2/25/13


Shrimp Tomatillo Soup                                     1/22/14


Slow-roasted Salmon with Fennel, Citrus and Chiles 1/12/14


Snowballs                                                         12/29/12


Soho Globs                                                        3/1/13


Spice Rubbed Salmon                                      12/9/12


Spicy Baked Shrimp                                         12/12/12


Steamed Sea Bass with Scallions and Ginger   3/26/13


Strawberry Shortcake                                       4/29/13


Sugar Cookies and Variations                           9/9/12


Summer Fruit Tart                                              8/13/13


Tart Apple Cake                                                 1/6/14


Thanksgiving Dinner                                        12/1/12


World Peace Cookies                                        3/12/13


Yoda                                                             3/26/13


Chicken Potpie


I was paging through the Williams-Sonoma cookbook Comfort Food, and I have to say that the recipes took me back about 50 years.  When I was a kid, we had Swanson's frozen chicken potpies, and I fed my kids Marie Callender's.  Since I was never a fan of peas, I'd pick them out.  So when I decided to try this recipe, I substituted diced sugar snap peas for the peas, and I omitted the leeks.  Otherwise, it was a very familiar tasting recipe.  We all loved the crust (always the best part), breaking it up and mixing it in with the filling.  But our palates have changed, and these just seemed sort of ho-hum.  I think I'll do some experimenting with something more flavorful and I'll get back to you later to show you how it turns out.

CHICKEN POTPIE

6 Tablespoons unsalted butter, divided
1/2 lb baby bella mushrooms
1/2 cup finely diced carrots
1/2 cup diced sugar snap peas
1/3 cup plus 1 Tablespoon All-purpose flour
4 1/2 cups chicken broth
1/3 cup dry white wine
1 teaspoon dried tarragon or 2 teaspoons fresh tarragon
4 cups cooked, shredded chicken (you can use a rotisserie chicken from the supermarket)
Kosher salt and freshly ground pepper

Double-crust flaky pastry dough (recipe below)
1 large egg

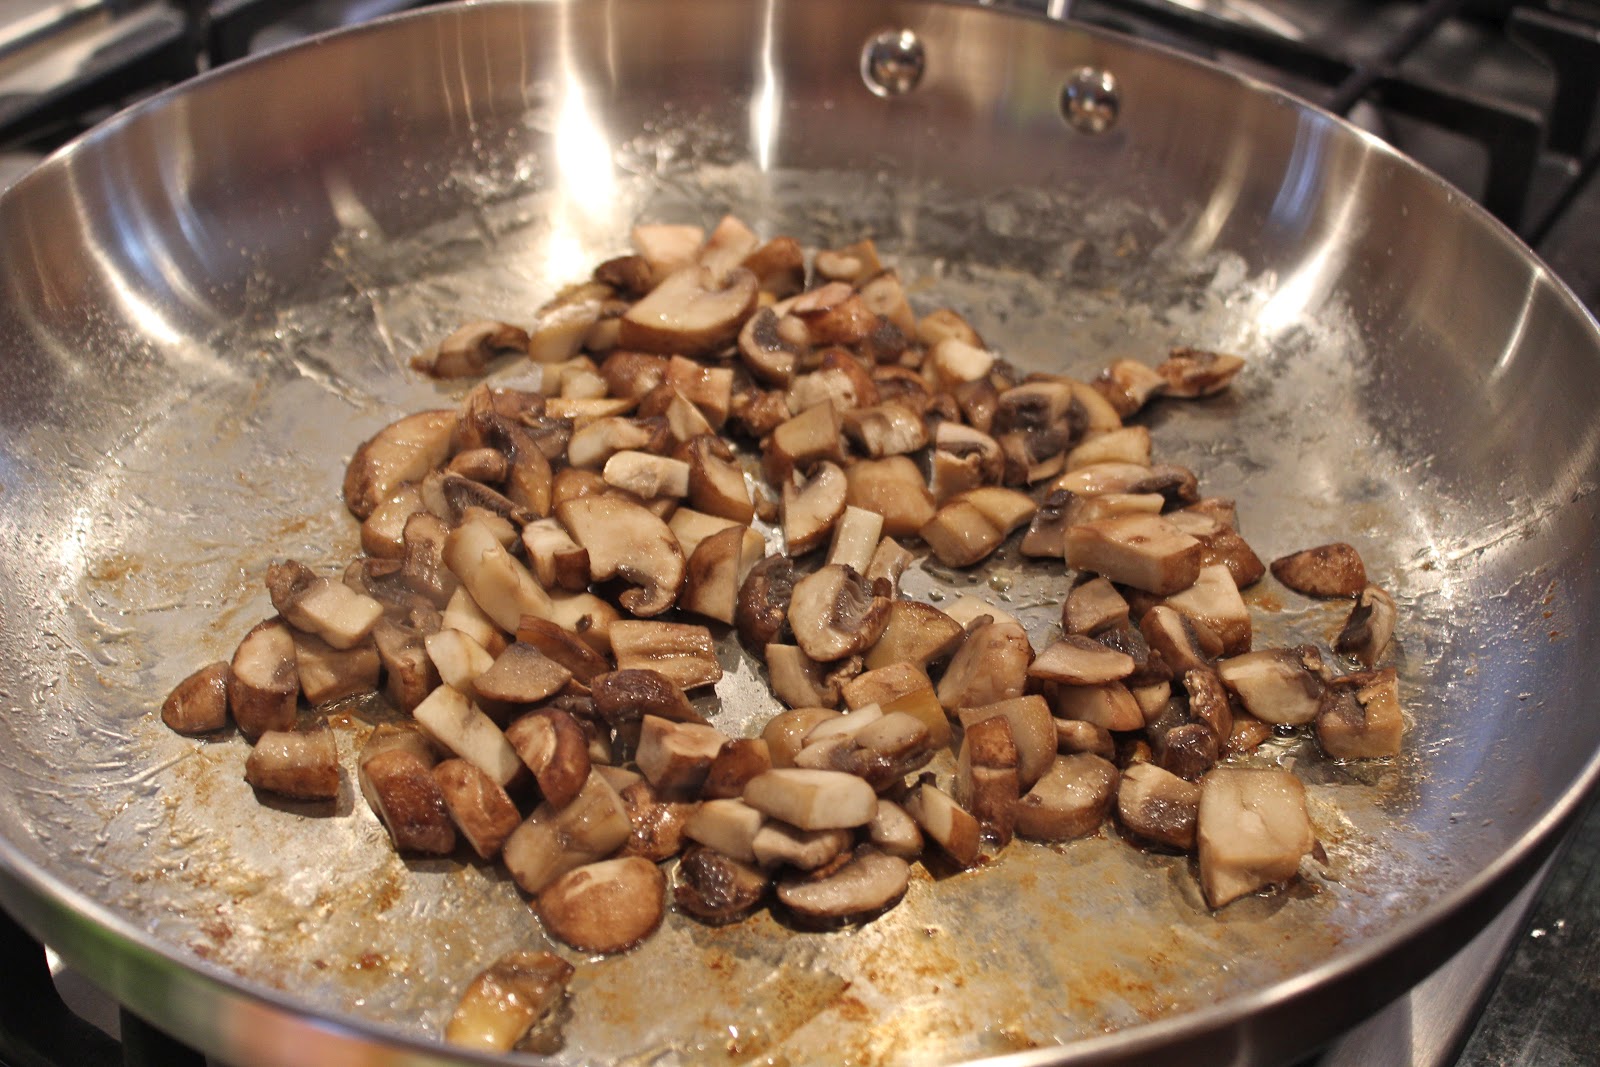
To make the sauce and vegetables, in a large frying pan, melt 1 Tablespoon of the butter over medium heat.  Add the mushrooms and cook, stirring occasionally, until they begin to brown, about 6 minutes.


Stir in the carrots and snap peas, cover, and cook, stirring occasionally, until the peas are tender, about 5 minutes.


Remove from the heat and add the chicken to it.


In a large saucepan, melt the remaining 5 Tablespoons butter over medium-low heat.  Whisk in the flour and let bubble gently for 1 minute (to get rid of the raw taste of the flour).


Gradually whisk in the chicken broth and wine and then the tarragon.


Bring to a boil, whisking frequently.


Pour it over the chicken and vegetables and season with salt and pepper.


Let cool until lukewarm, about 1 hour.
DOUBLE-CRUST FLAKY PASTRY DOUGH

2 1/2 cups All-purpose flour
1/2 teaspoon fine sea salt
1/2 cup plus 2 Tablespoons unsalted butter, cut in slices and chilled
3 Tablespoons vegetable shortening, in pieces and chilled
1/4 cup ice water
1/4 cup cold vodka

In a Cuisinart, mix together the flour and salt for about 5 seconds.  Add the butter and shortening pieces and process 5 seconds.  Pour the ice water and vodka over it and process another 8 seconds.  It should look like moist clumps.  Turn the dough out onto a piece of plastic wrap and form it into a disk (some flat flakes of butter should be visible), wrap in the plastic and refrigerate for at least 30 minutes or up to 2 hours.

Preheat the oven to 400 degrees F.  Spoon the chicken mixture into six 1 1/2-cup ovenproof soup crocks or ramekins.  [Note:  we found this a very generous serving, and next time I plan to use 1-cup containers.]


Place the unwrapped dough on a lightly floured work surface and dust the top with flour.  (If the dough is chilled hard, let it stand at room temperature for a few minutes until it begins to soften before rolling it out.)  Roll it out into a rectangle about 20 by 13 inches and 1/8 inch thick.  Using a 6-inch saucer as a template, use a knife to cut out 6 rounds.  [You will notice that I cut them into squares and draped the corners over the edge of the ramekin...why waste good pie crust?]


Beat the egg with a pinch of salt.  Lightly brush each round with the egg.  Place 1 round, egg side down, over each ramekin, keeping the pastry taut and pressing it around the edges to adhere.  Place the ramekins on a rimmed baking sheet.  Lightly brush the tops with the egg.  Bake until the pastry is puffed and golden brown, about 25 minutes.


Transfer each ramekin to a dinner plate and serve.

Sunday, February 3, 2013

Red Velvet Cake


There's something about extremely cold weather that brings out the baker in me.  So, today I'm making the Red Velvet Cake you see above, starting the Browned-butter Chocolate Chunk Cookies, and for dinner we're having Chicken Pot Pie (recipes to follow).  It's comforting to have a day when the most complicated thing you do is figure out the timing on each project and then execute it.  Plus you get to eat the results.

This is the first layer cake I've posted, so I thought I'd start with some thoughts on cakes in general.  I started baking cakes when I was around 12, donating them to the church bake sales.  I used Betty Crocker mixes, and I have to admit, they're pretty fool-proof, especially for a 12-year old.  For many years, when I made cakes, which was infrequently, I continued to use the mixes.  Plus we had an excellent bakery when we lived in San Marino called Julie's (now sadly closed), so I was much more likely to order one of their delicious cakes.

When we moved to State College in 1986, I tried the local bakery, called "The Bakery," I kid you not.  Their cakes were dry and insipid.  The only other alternatives at the time were the supermarket bakeries, but they seemed to think that shortening was an appropriate ingredient for frosting.  Yuck.  So I went back to the mixes, and that's what my kids remember from growing up.  The few times I tried a "from scratch" cake, the results were not pretty...not to look at, and surely, not to taste.  Sometime in the mid-1990s, I got a copy of Rosie's Bakery All-Butter, Fresh Cream, Sugar-Packed, No-Holds-Barred Baking Book, and my world changed.  The first quarter of the book was written to reassure anxious bakers and was filled with the kind of information that you've been reading in this blog, like bringing all dairy ingredients to room temperature, etc.

The first cake I successfully baked from scratch was the Sour Cream Chocolate cake from Rosie's cookbook and it's still one of my favorites, especially with whipped cream frosting.  Maybe at some later date, I'll share that one with you as well.  Back to the Red Velvet.  I got interested in trying this one when I caught an episode of Bobby Flay's "Throwdown" series and the description of it being a moist cake caught my attention.  Let me just say it very clearly:  I HATE DRY CAKE.  Unfortunately, if you want a very "pretty" cake, it has to be baked until it is completely dry (meaning a toothpick comes out clean), so that it will hold it's shape.  Similarly, if you are splitting the layers horizontally, you have to bake them until they are dry.  Now, if you're running a bakery, where people buy with their eyes, that's what you have to do.  But at home, it's all about how it tastes.

So I'm an advocate of stopping the baking process when the cake is thoroughly cooked, but not dry.  One consequence is that the cake will have a nice dome when it comes out of the oven, then sink disastrously in the middle as it cools.  Rather than see that as a problem, I want you to consider it a good thing.  That means you'll have gooey, moist cake in the middle.  It does mean that you have to ignore the directions to turn the cake out of the pan after 10 minutes, because that will lead to disaster.  Instead, you can let it cool in the pan, and because you will use parchment paper on the bottom and you can run a knife around the sides, it will come out.  The cake is fragile, so you have to handle it carefully, but you'll see in the photos below, it comes out looking fine, and more important, it tastes fantastic.

A word about equipment.  I'm using inexpensive Wilton pans here.  I like them because they have handles, and because they are light colored, which helps keep the cake from overbaking.  The dark pans tend to scorch delicate things like cakes.  And while they're inexpensive, they are solid enough that the cakes bake evenly.  Second, I have 9" parchment rounds.  You can cut circles out of a roll of parchment if you like.  I also have a glass cake stand with a lid, which is very impressive looking, but it also makes it easier to frost the cake, because you can turn the pedestal as you frost.

So here are the ingredients:


RED VELVET CAKE

3 3/4 cups AP flour
3 Tablespoons cocoa (I think Scharffenberger or King Arthur's Double Chocolate work well)
1 1/2 teaspoons baking soda
1/2 teaspoon salt
12 Tablespoons (6 oz) unsalted butter, at room temperature
2 1/4 cups granulated sugar
3/4 cups vegetable oil
3 large eggs, at room temperature
1 1/2 teaspoons pure vanilla extract
1 1/2 teaspoons red wine vinegar
1 Tablespoon red food coloring
1 1/2 cups buttermilk, at room temperature

Preheat the oven to 340 degrees F.  

Before you start, either cut 9" rounds out of parchment sheets or use 9" rounds.  For reasons that escape me, the precut ones are too big.  So I start by using my fingernail to mark where I have to trim them, like this:


Next, butter and flour two 9" cake pans


making sure not to use too much butter, and tapping out excess flour.  Line each pan with parchment.


Whisk together the flour, cocoa powder, baking soda and salt in a small bowl.


Cream the butter, sugar and oil in a stand mixer fitted with the paddle attachment until light and fluffy.


Add the eggs, one at a time, scraping down the edges of the bowl (if you don't have the scraper paddle I do) and beat until incorporated.


Beat in the vanilla, vinegar, and food coloring.


For this next step, you can keep the mixer on the lowest setting when you are adding something, then increase the speed to medium to completely blend it in before proceeding.  

Add the flour mixture to the batter in 3 batches alternating with the buttermilk (in two batches), mixing well after each addition.  


Divide the batter evenly between the prepared pans


and bake for 30 to 40 minutes.  I know this is a large range, but this cake can bake very differently in different ovens.  One layer of mine was ready in 33 minutes, the other in 35 (it was more towards the front of the oven and I forgot to switch them).  This is the most important part of getting the result you want.  It needs to be fully cooked, which means that it doesn't jiggle in the middle, and it should have a nice even dome like this:


When you put a toothpick in, it should not be clean, but should look more like a brownie, with moist batter at the bottom.  If you would press the center, it would not really bounce back (I don't recommend this).

Cool completely on a baking rack, and the center will fall, like this:


CREAM CHEESE FROSTING

12 oz cream cheese, at room temperature
12 Tablespoons (6 oz) unsalted butter, at room temperature
1 1/2 pounds confectioner's sugar
1 Tablespoon vanilla
1/8 teaspoon sea salt

Combine all ingredients in a mixer with a whisk attachment.


Start with the lowest speed to mix the ingredients or you will have a powdered sugar storm in your kitchen.  Gradually increase the speed to the highest setting, then whip for 5 minutes, at least.  You want to introduce some air into it, so that it's light and fluffy and spreads easily.


Use a thin spatula or knife to loosen the sides of one layer, then invert it (rounded side down) onto a plate or cake plate.  Put a good glob of frosting in the middle, to fill in for the above-mentioned sinking.


Spread the frosting to the edges and down the sides, then place the second layer on top of it, rounded side up, like this:


I loosened it, just like the first one, but dropped it onto my hand.  I quickly flipped it over on top of the first layer.  It sounds tricky, but it really isn't.  Now, frost the top layer and smooth it out and voila!  a beautiful Red Velvet Cake.  Serves 12-16.


We each had a piece last night, then I put it in the refrigerator in the cake dome to firm it up.  Today, I cut it into slices, wrapped them in plastic wrap, and put them in a freezer bag.  To defrost, just unwrap a slice, put it on a plate, and let it sit at room temperature for 30-45 minutes.  It'll be even more moist because of the ice that forms in the freezer.